https://www.youtube.com/watch?v=qyhK7YHiFyo
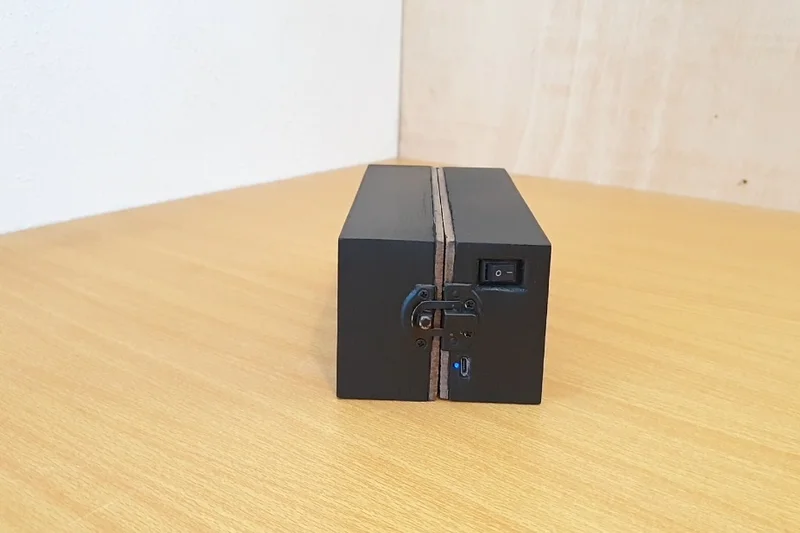
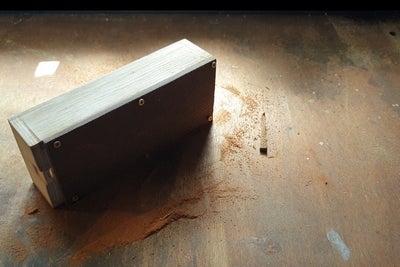
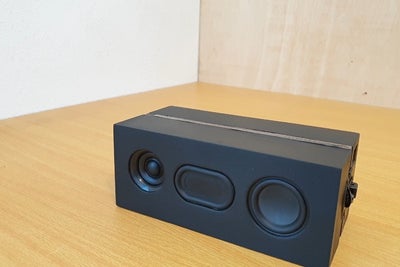
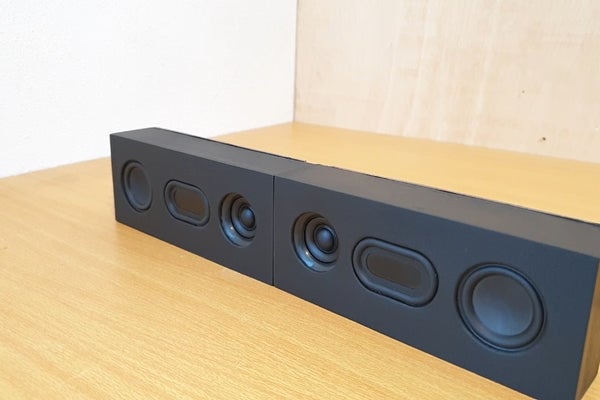
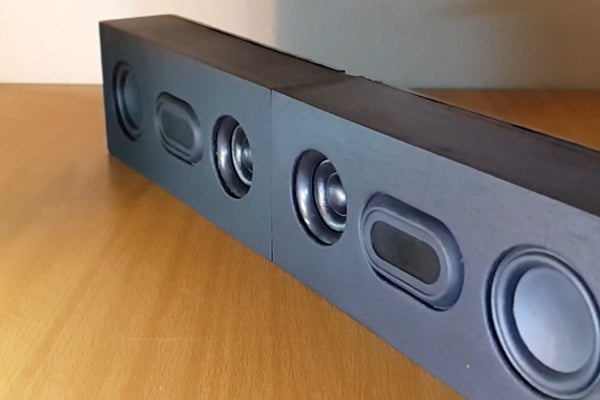
Homemade surround fold speaker, multi directional soundbar, check the video above for see it working.
Speakers : http://bit.ly/2ZCzgg2
Tweeters: http://bit.ly/2NM6gfe
Audio module: http://bit.ly/2NM6gfe
30×50 radiator: http://bit.ly/2NM6gfe
1s pcb: http://bit.ly/2NM6gfe
-Batteries in parallel, protected with 1s pcb.
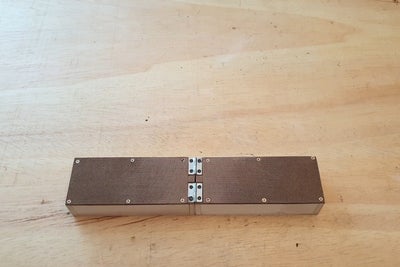
-Foldable for 360° sound delivery, flip design.
-When connected to PC can be used as a sound bar.
-Box was pre-made and resized, laminated plywood.
-50v 1000uf capacitor for tweeter filter.
-World first foldable speaker.
Step 1: Case

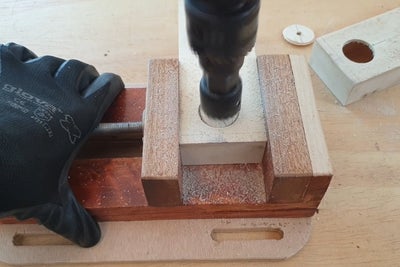
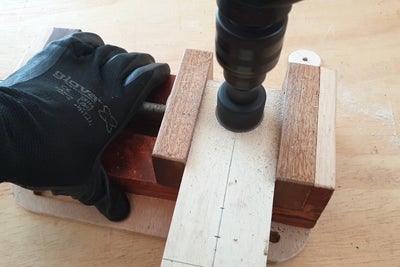
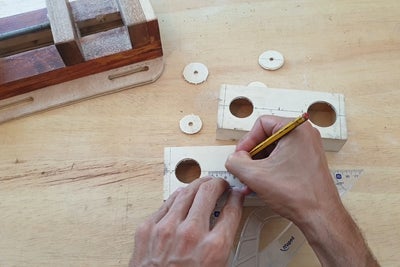
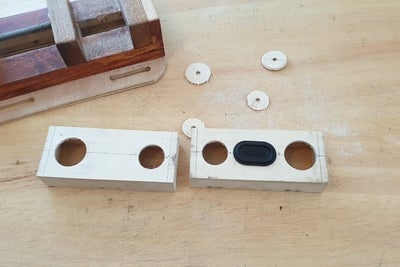
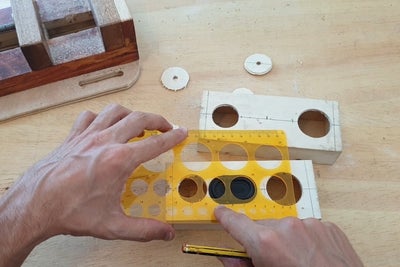
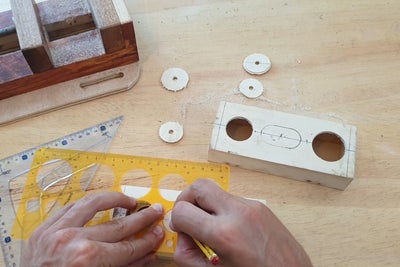
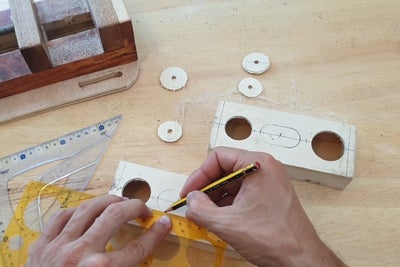
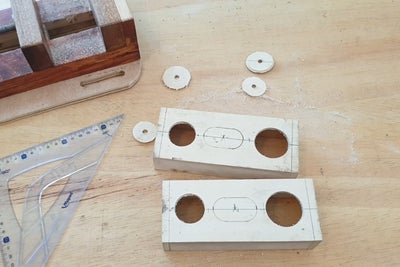
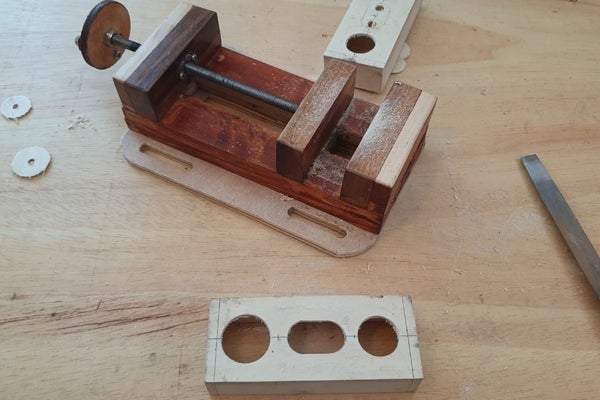
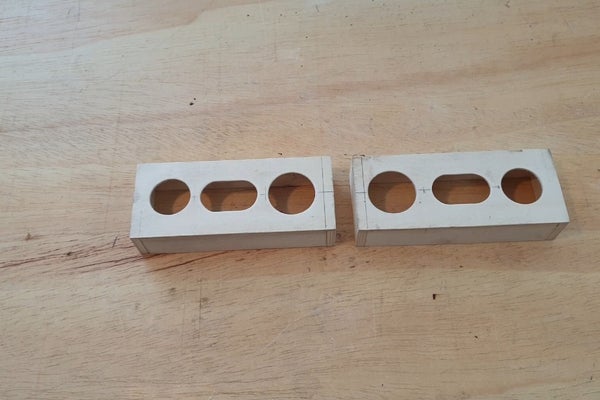
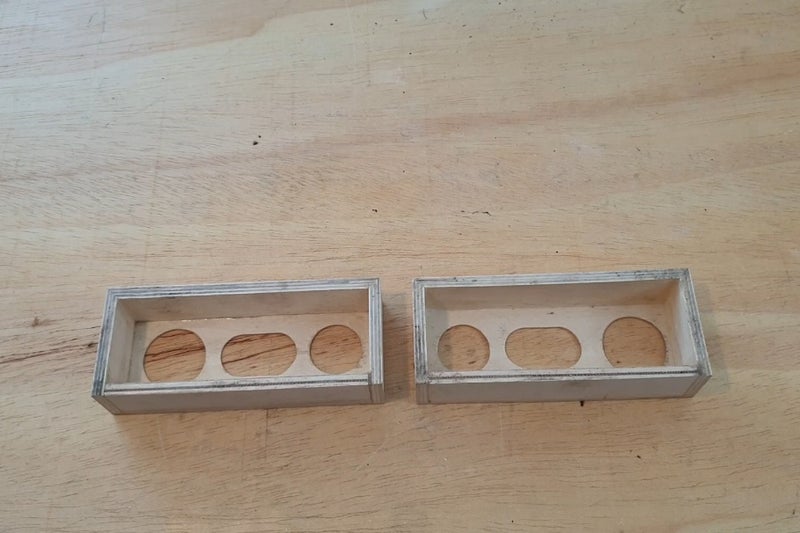
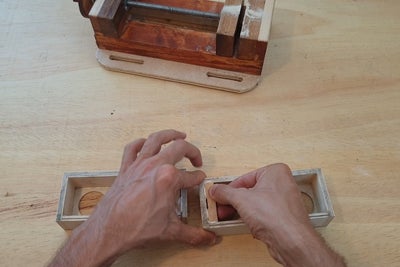
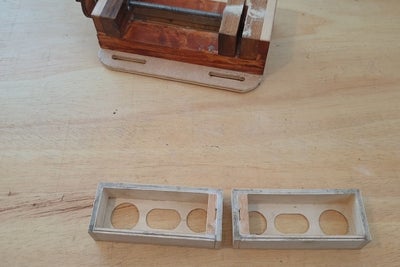
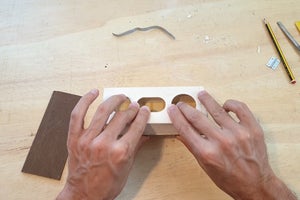
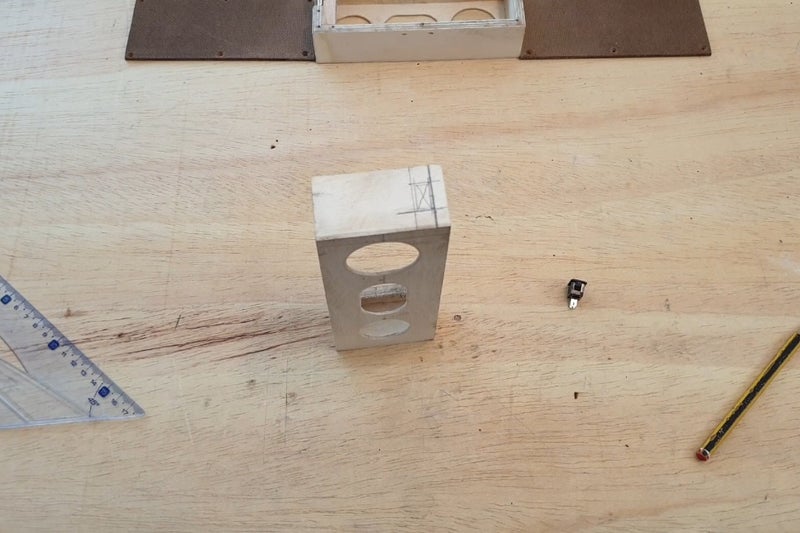
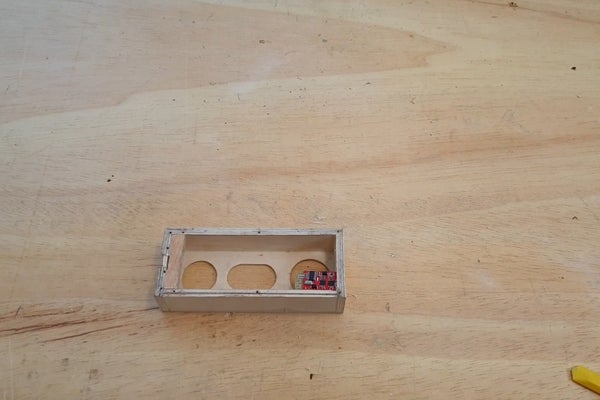
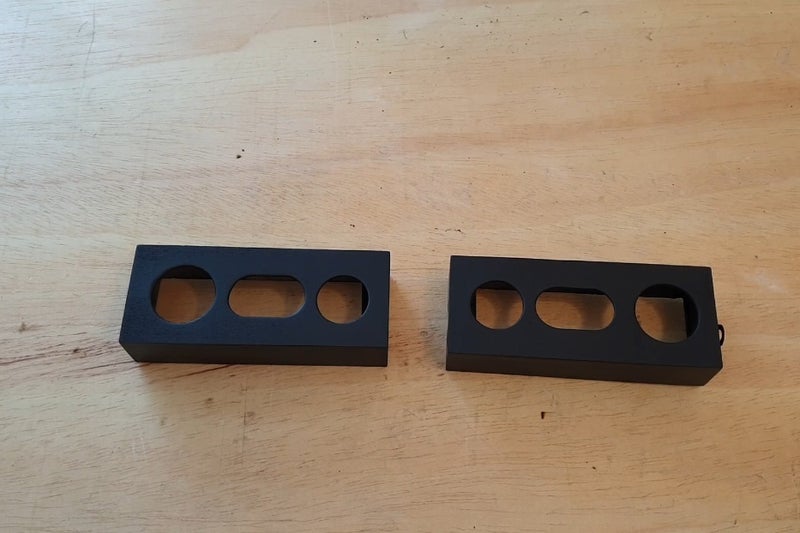
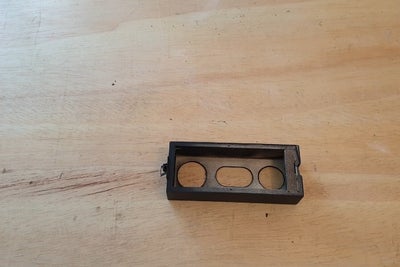
I re-shaped an rezise a bigger box to have two identical smaller rectangular boxes, after checking the diameters i cut the holes for the speaker and tweeters, then using an circle board template i marked and cutted the oval hole for the passive radiator.
Step 2: The Hinge

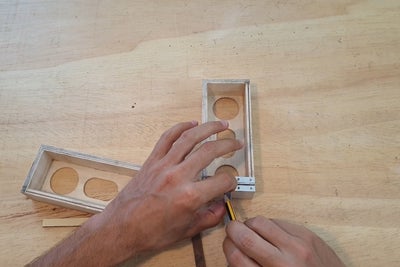
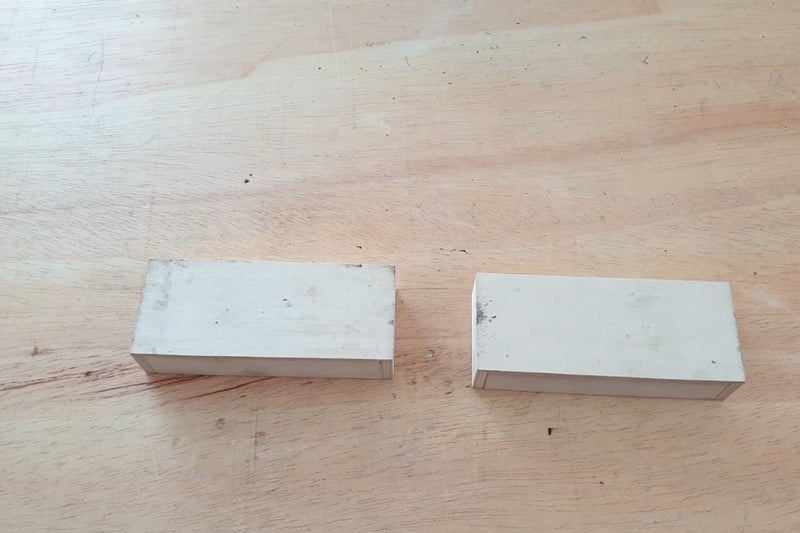
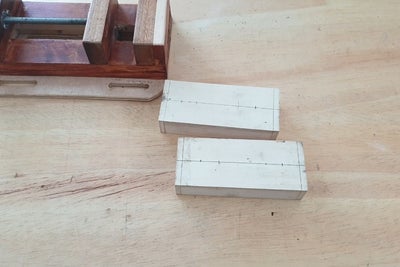
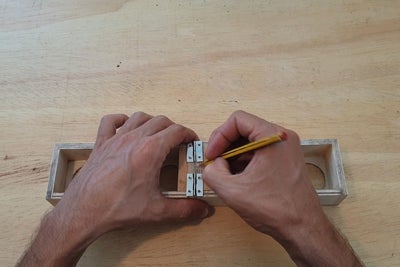
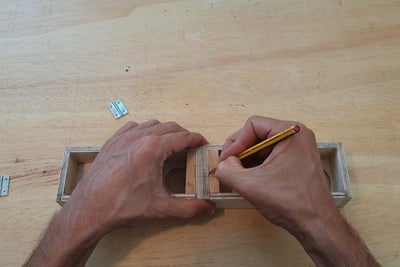
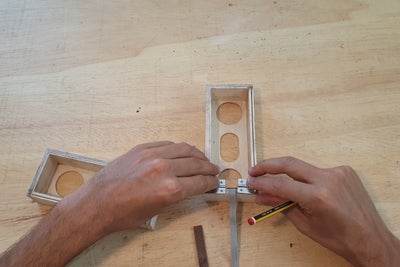
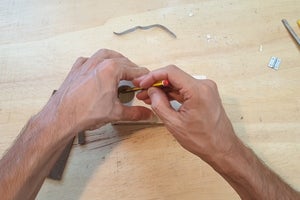
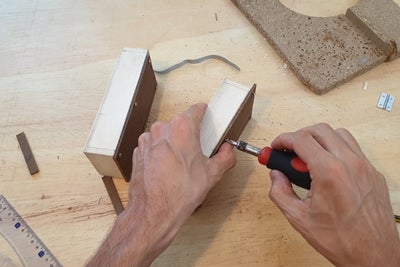
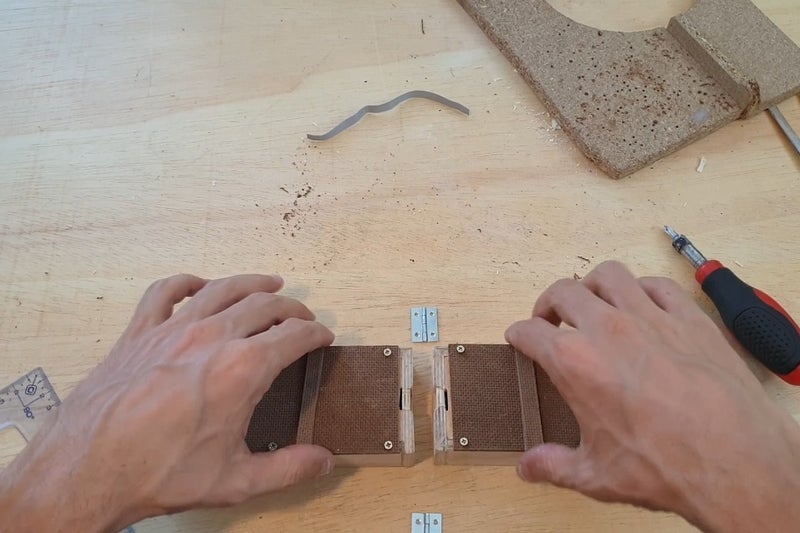
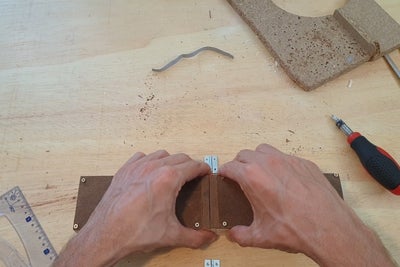
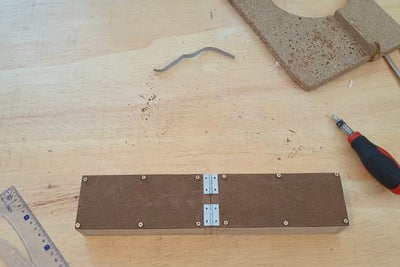
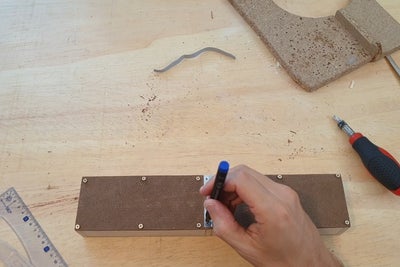
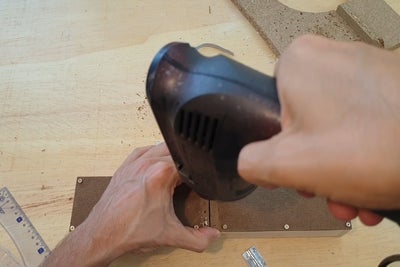
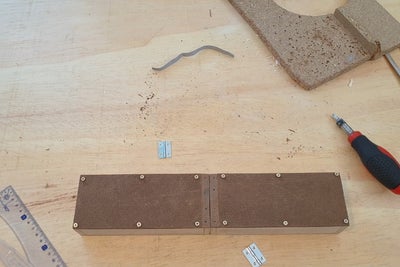
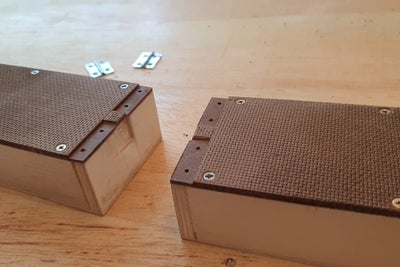
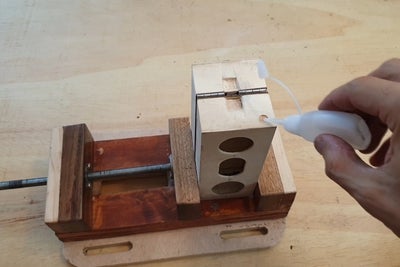
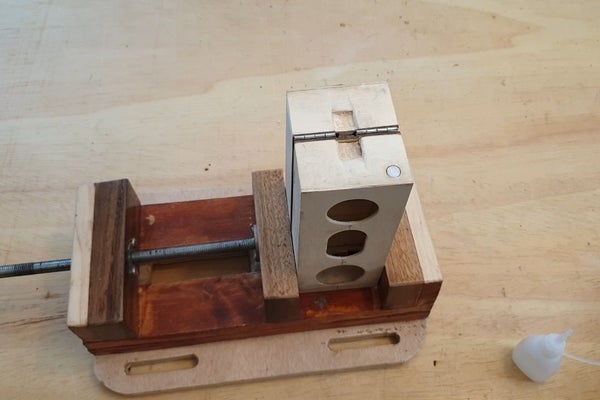
Add two pieces of wood for the hinge support, mark it and cut an groove for the cable to pass, trimm also a little bit in the exterior part of the box, this will allow the cable to bend without breaking.
Step 3: Back Cover

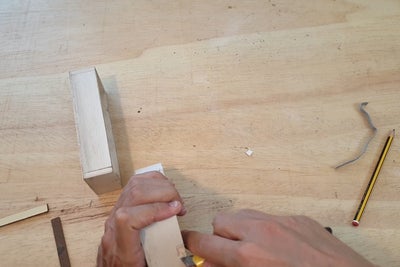
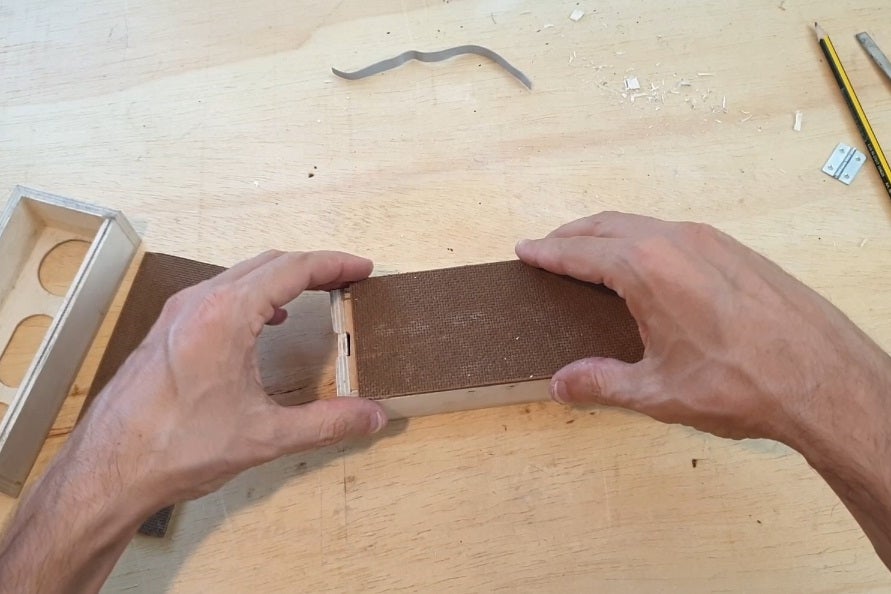
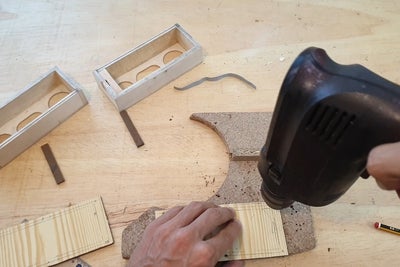
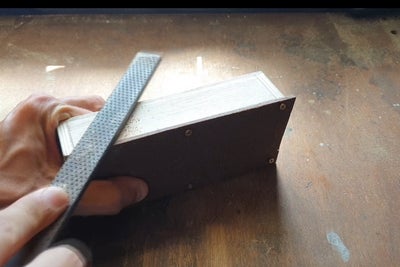
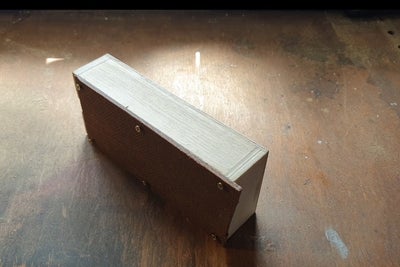
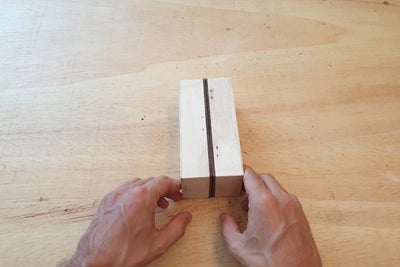
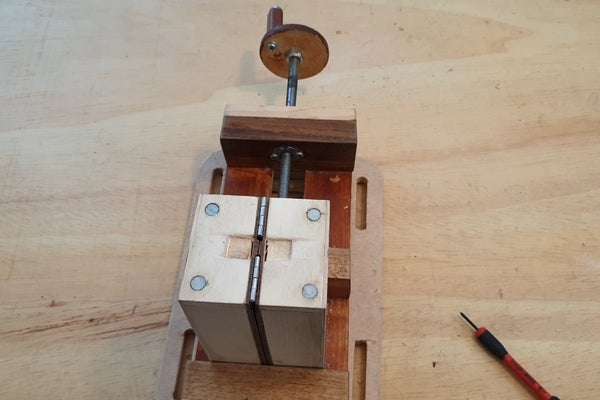
Cut an back panel a few milimeter larger than the case, align it with the case an flip it to mark the inner measures, drill a few holes in the back cover 3/4mm from the line, screw it in place and trim the excess, this will allow a perfect fit, finish with 120grit sandpaper.
Step 4: Fine Tunning

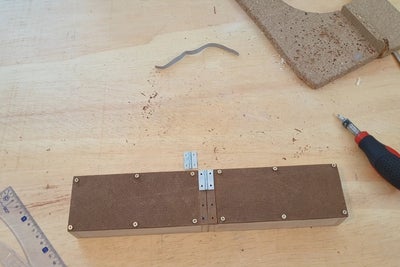
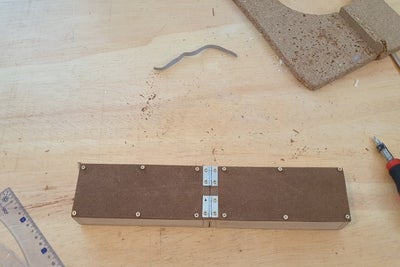
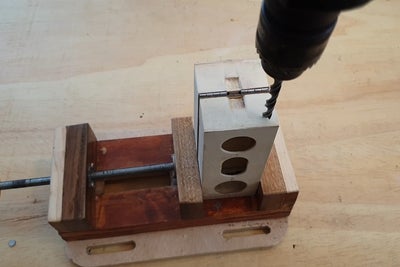
Add two pieces of wood for the hinges suport, mark it and drill, i had to trimm those little pieces of wood for the case to be able to close completly.
Step 5: On/off

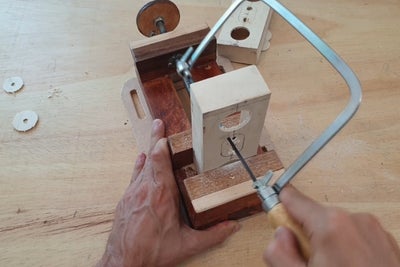
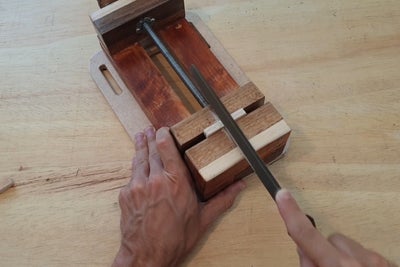
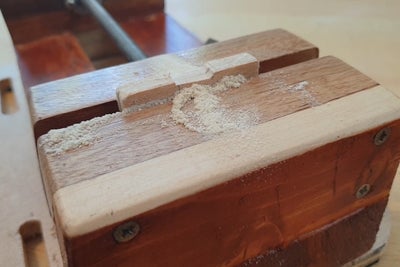
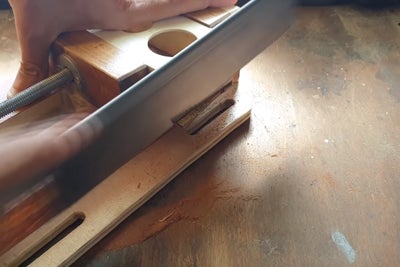
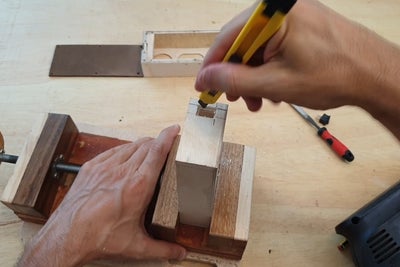
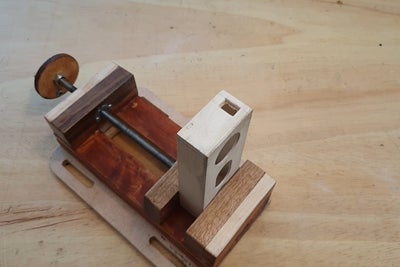
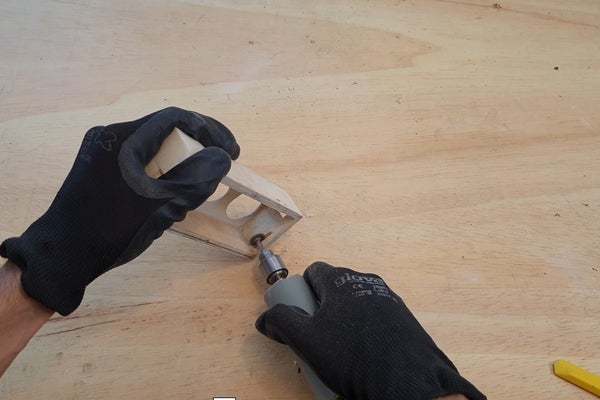
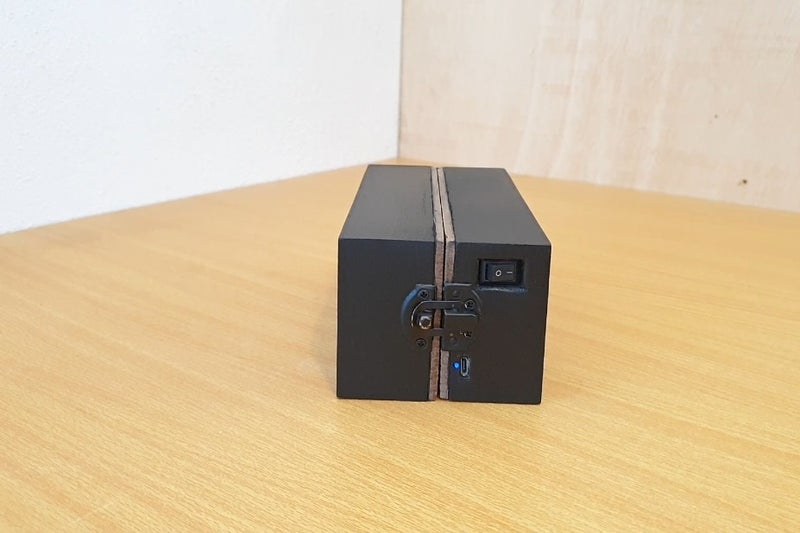
For the power button measure and drill, use an hack saw to cut the rest and a file to achive the final shape, for the on/off switch to go deeper in the case i had to trimm a little bit around the previous cut.
Step 6: Audio Module

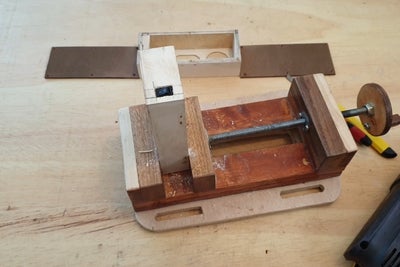
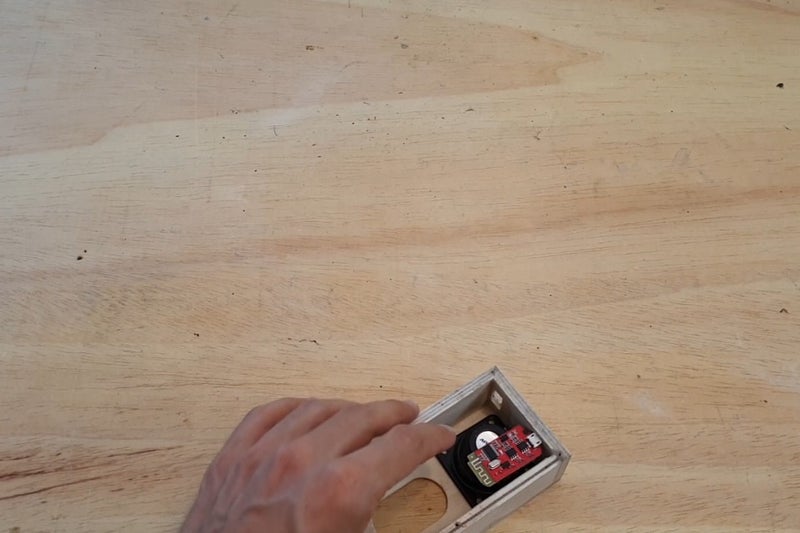
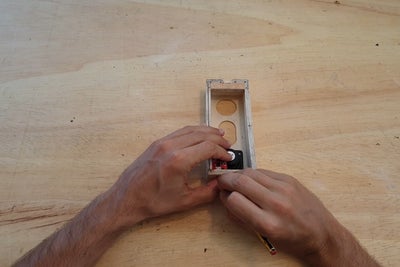
Mark the place to cut/ drill/ and trim, i wanted only the usb port to be exposed outside the box.
Step 7: The Lock

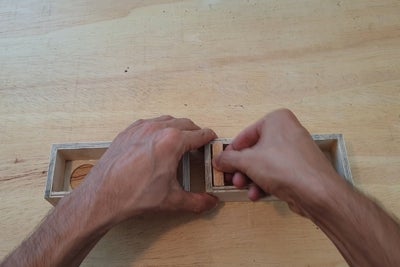
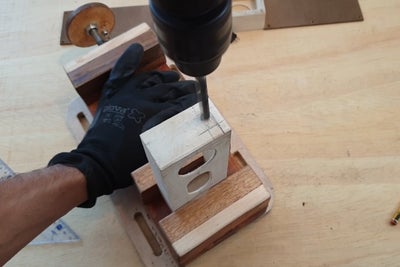
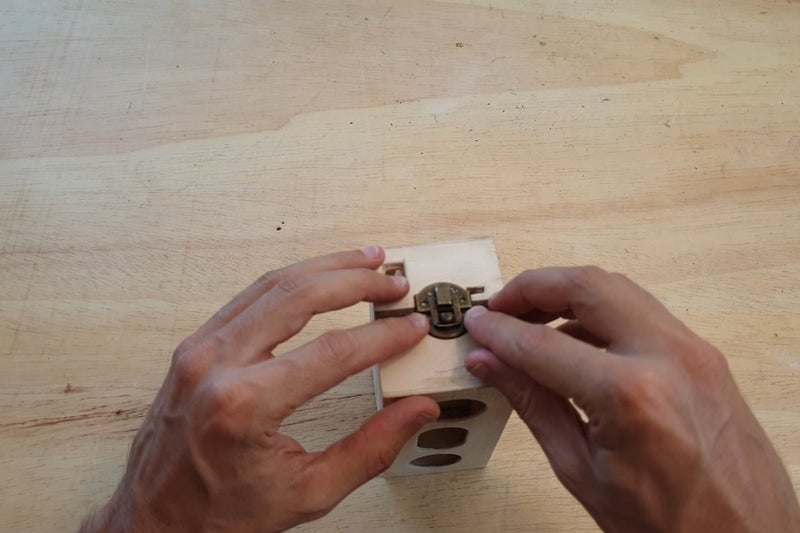
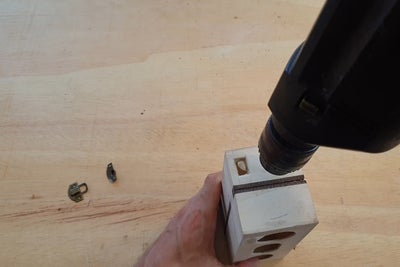
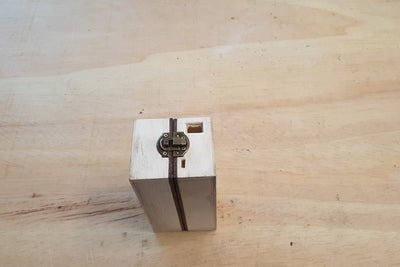
Drill the holes for the lock, make sure its aligned, drill the holes for the magnets, i secure it with instant glue, make sure to match the magnetic field of the magnets.
Step 8: Passive Radiator

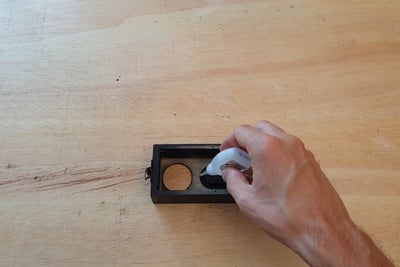
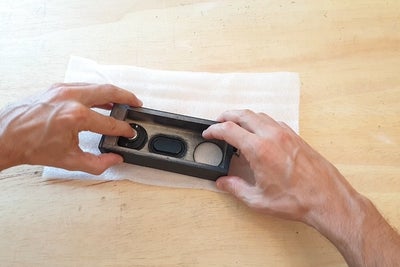
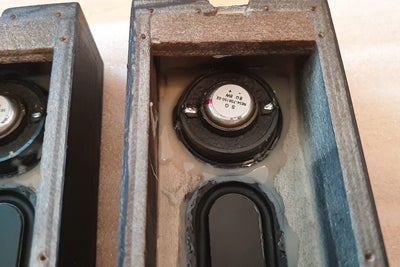
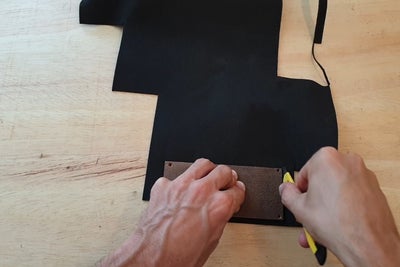
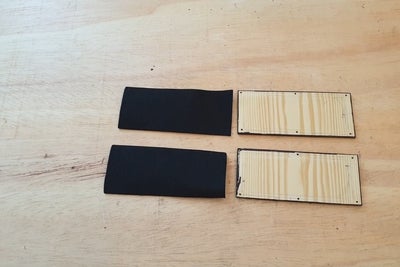
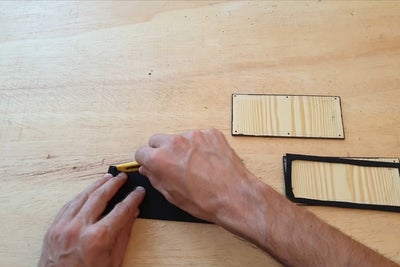
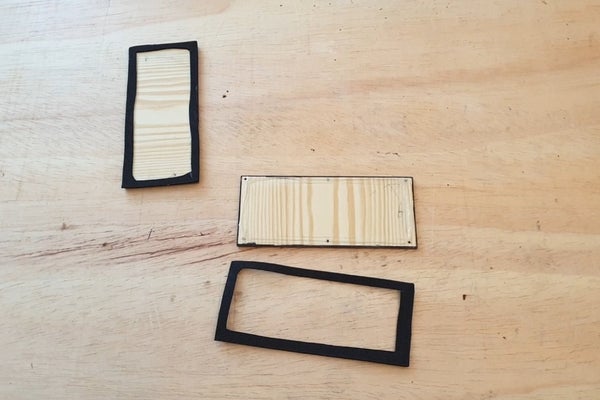
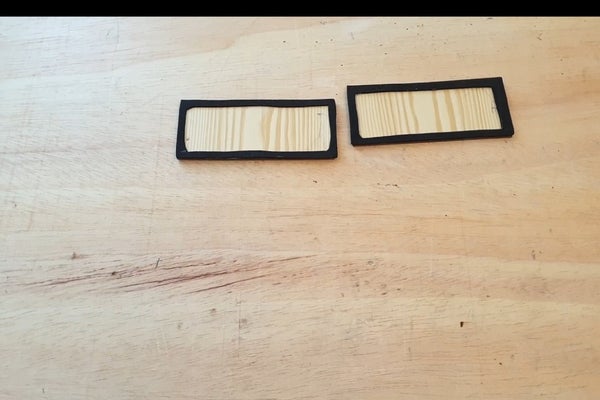
Align the passive radiator and glue it with instant glue, glue only the outer ring part, for the tweeter and speaker i used contact glue, using the back panel as a template cut the foam and remove the center of it, glued also with contact glue.
Step 9: Wiring

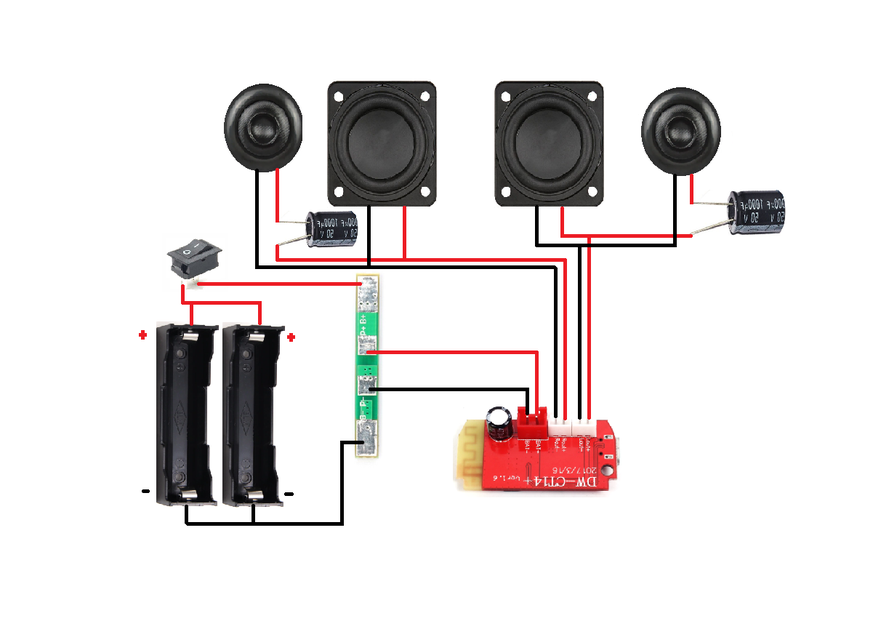
The wiring is very simple, i´m using two 18650 in paralel with 1s pcb and 50v 1000uf capacitor for tweeter filter,
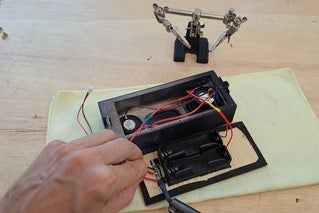
for the passive radiator work correctly the case need to be completly air tight, using contact glue and hot glue i sealead the power button, audio module and the cable from one box to the other.
To test for any air leaks press gently the passive radiator, the speaker will move up and if no air leaks will maintain the position, if there is any air leak after you press the radiator the speaker will go up and then start to go down as the air is escaping.
Step 10: Final Result

This project was a lot of fun for me to do it, i never seen any speaker like this one before, i guess this is the world first foldable speaker !!

