Ever lost padlock keys or forgotten the code to your incredibly strong padlock and can’t open your locker? Imagine a padlock which can be opened with a tap on an object which everyone now carries around and rarely forgets…
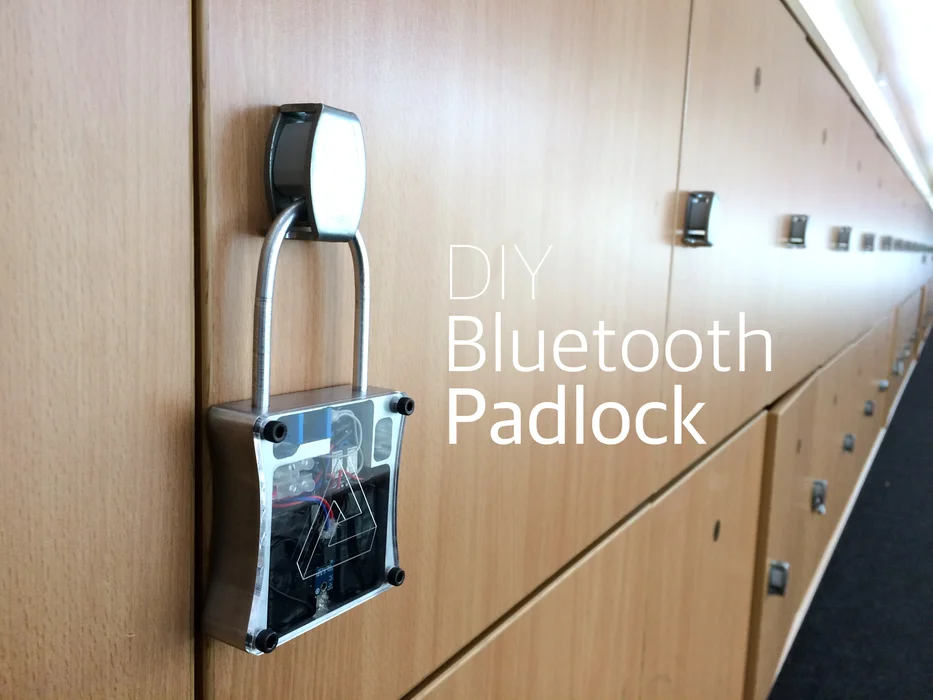
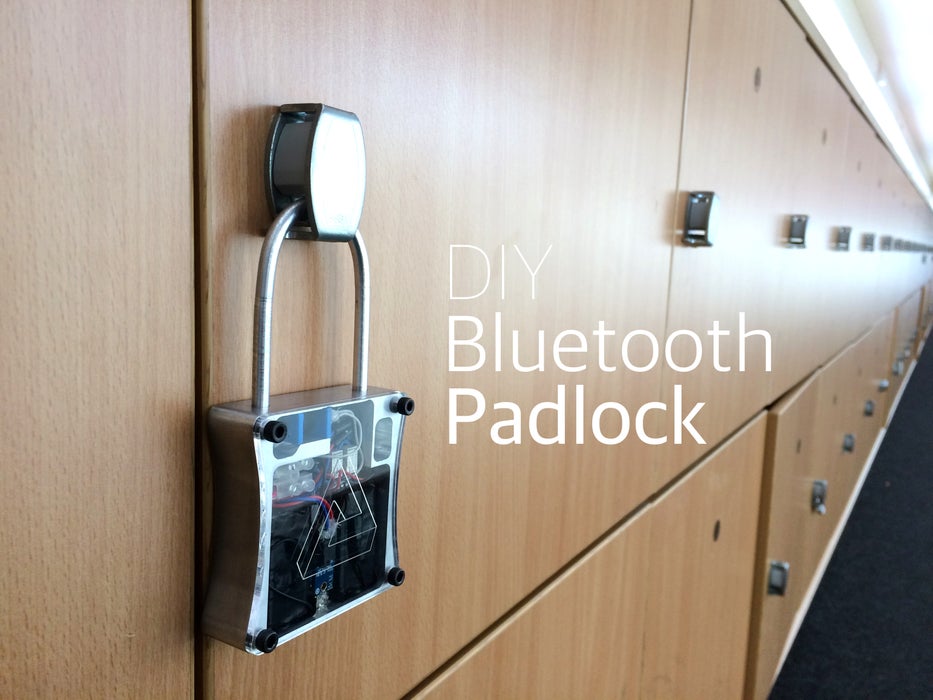
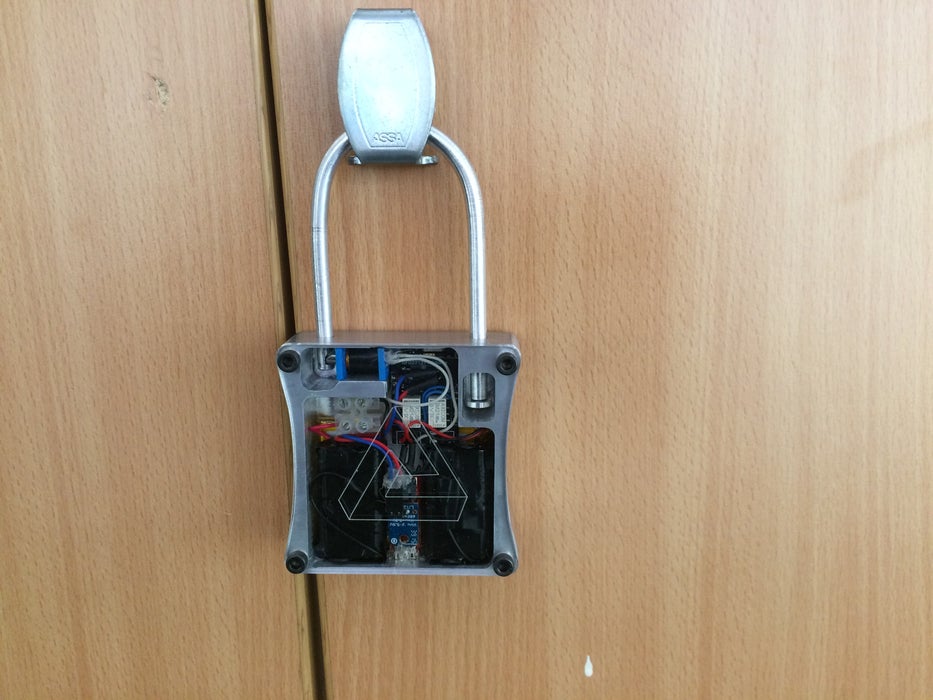
Well ladies and gentlemen the future is here. I present to you a fully functional bluetooth padlock which can be unlocked from your phone and your smartwatch!
This project was for my GCSE’s which I got an A* for however this is definitely a prototype made with a tight deadline and there are many aspects of this padlock that I would like to change. This is merely a guideline so please experiment with other parts and ways of building the padlock.
Finally if you enjoy this Instructable please do vote for me in the competition and feel free to leave a comment if you have any questions.
List of Materials:
- 90mm x 90mm x 25mm Aluminum Block
- 8mm x 250mm Aluminum rod
- 3mm acrylic
- 8mm dia steel rod
- M4 x 12mm Hex Screws
- Rfduino RF22102
- Rfduino relay shield
- LM3671 5v – 3v buck converter
- Mini Lipo Charger
- 0.1mm copper enamelled wire
- 1800mah LiPo
- 9v Alkaline Battery
Equipment:
- Milling Machine
- assorted milling cutters ( I used a 6mm 3 flute, 3mm 2 flute and a 16mm 4 flute endmill)
- 3d Printer
- Laser Cutter
- Metal Lathe
- Drill
- Soldering Iron
- Tap and Die set
- Band Saw or Hack Saw
This google folder contains all the designs and code needed for the padlock.
Step 1: The Housing
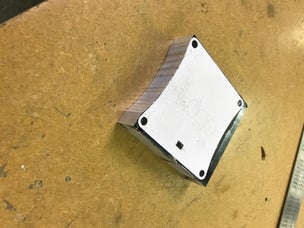

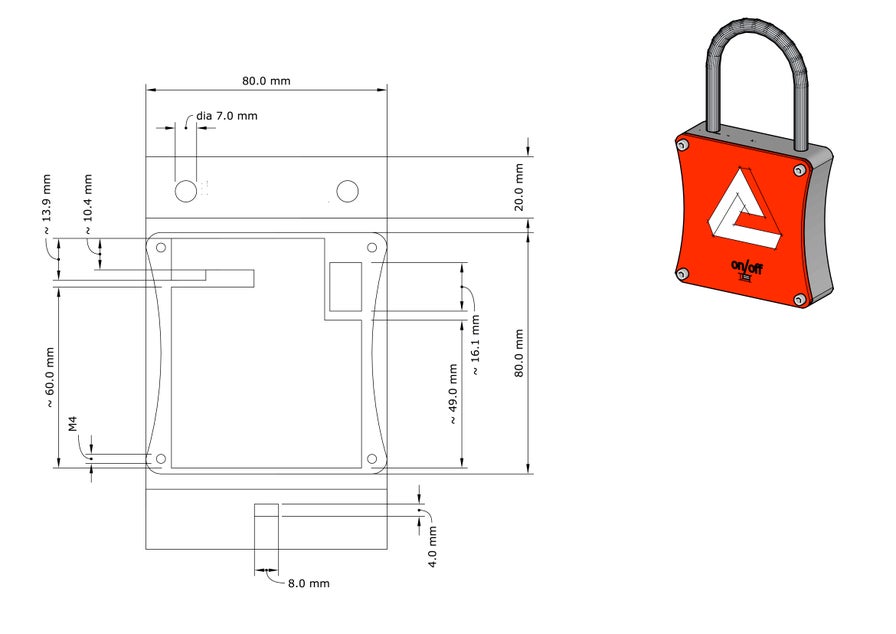
I created a CAD model of the padlock using sketch up so you first want to print this out 1:1 scale. You next want to stick this template onto the aluminium block to provide a template for milling out the aluminium. Next the aluminium block needs to be cut down closer to the template ideally on a bandsaw to get a square edge but a hacksaw will do. Once the block has been roughed down to size , it needs to be squared up so that you can measure off it and ensure that each side you mill is also perpendicular and square. (Click here for a guide on squaring up a piece). The rough outer shape is milled out using a 16mm end mill and the curve is created by slowly edging in the y and x axis until the outer edge of the end mill is touching the edge of the template. Repeat this process all along the curve and you should get a bumpy but clear curve. Finally smoothen out the curve by first filing doom with a coarse file to get rid of the bumps then with wet and dry paper. After the outer shape is milled the height will need to be reduced to the final height (20mm) with a few passes of the 16mm end cutter.
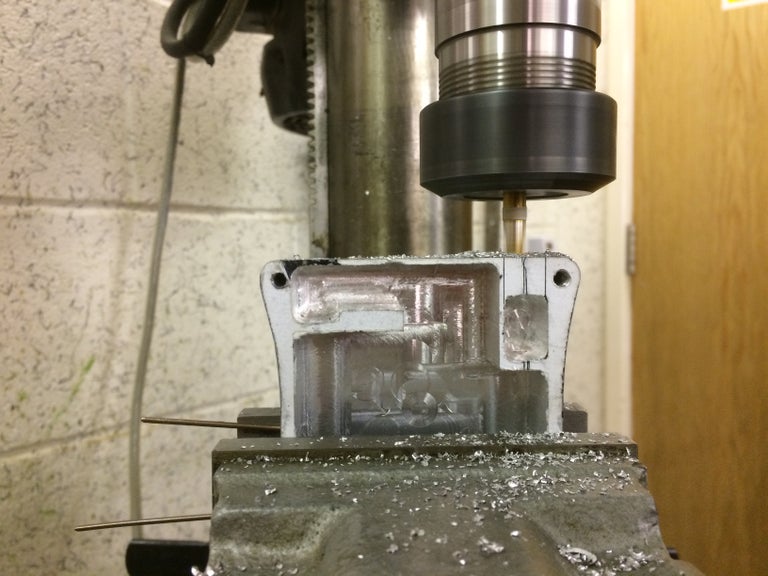
The 16mm end mill is then plunged into the block 18mm to remove most of the material inside and the 6mm end mill is used to bring each wall as close as possible to the template. At places where a 90 degree corner is needed the radius of the 6mm cutter can be used as the corner as sharp corners are difficult to get. This process will take a while and shouldn’t be rushed.
After the inside is finished, the 4 holes at each corner should be drilled by either using the mill again or using centre punch to mark the centre of the hole and drilling it out with a 3.5mm bit and should be tapped using a M4 tap to create the M4 threads for the screws. The sides for the housing need to also be printed now and stuck on the sides of the housing taking care of the orientation.
The housing then needs to be flipped 90 so it is clamped upright. The holes for the shackle are now created with the same 6mm end mill making sure not to rush this part as the bit may slip. Finally the slot for the micro usb port is milled using a 3mm cutter on the opposite side to the holes for the shackle.
However if you are lucky or smart and have a cnc machine you can ignore most of the instructions above and use the stl provided in the google drive link to cut out the housing on your cnc machine saving you time, blood, sweat and tears :).
Step 2: The Shackle and Locking Pin

The End stop
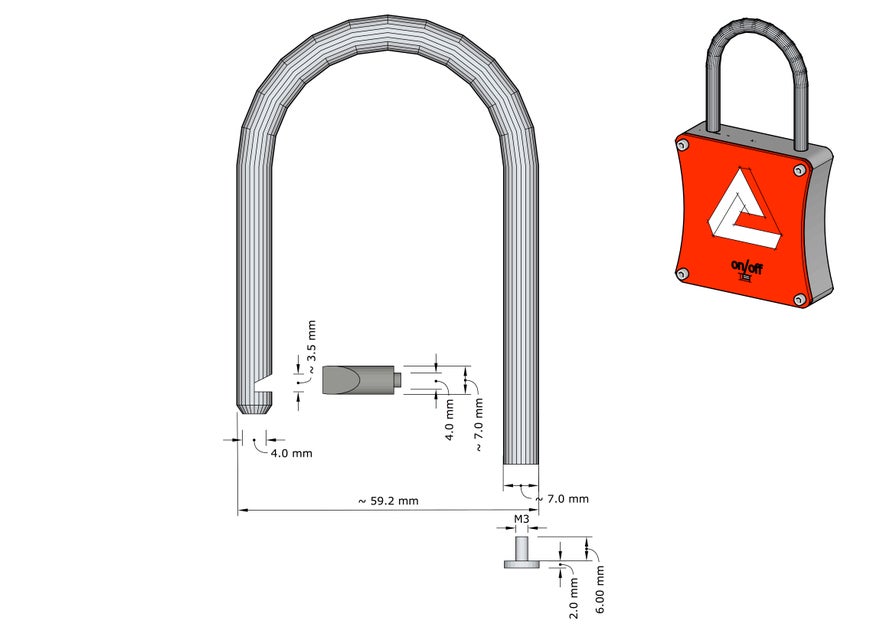
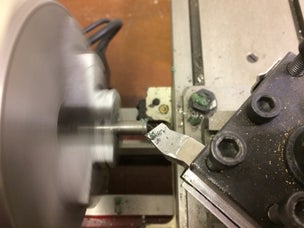
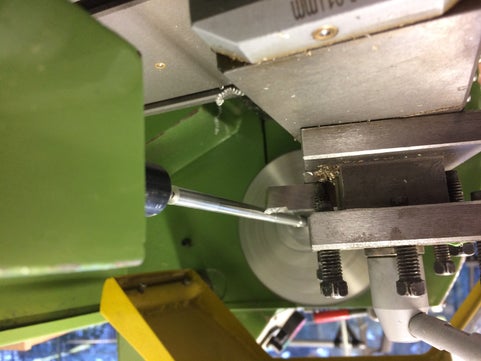
The end stop attaches to the end of the shackle and prevents the shackle from falling out of the padlock while allowing it to rotate around to fit on lockers. This is made from a small 12mm piece of the 8mm aluminium rod. Face off both sides and mark 6.0mm down. Parallel turn from one end to the 6mm mark and reduce the diameter to 3.0mm. Taper the end so it is easier to start the thread. Either attach an external threading tool to your lathe or use a manual tap and die set to create a M3 external thread on the 3mm end. Finally then larger end is cut down to 2mm at the end.
The Locking Pin
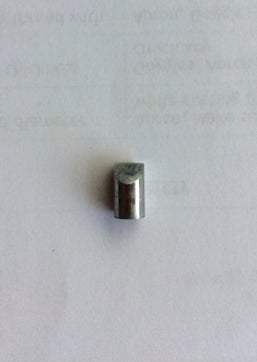
The locking pin is made from a 10mm x 8mm steel rod. Face off both ends and then cut a using a hacksaw a slope so that the shackle can be closed and locked without having to unlock the padlock. Use files to get the profile right and try to match the profile above.
The Shackle
I made the shackle from 8 mm aluminium due to time constraints and lack of equipment but I would recommend you use a harder material such as stainless steel or hardened steel so that it isnt easy for someone to just cut off the shackle. The rod needs to be parallel turned to 6mm so that it can fit in the holes in the housing. Face off both ends of the rod so that the ends are perpendicular to the length of the rod. At one end of the rod use a centre drill to start a hole and using a 2.5 mm drill bit, drill a hole out about 5mm deep. Use a M3 tap to create an internal M3 thread which will be used to screw in the endstop to prevent the shackle falling out of the housing. Next you need to bend the rod. As I used aluminium I could easy bend the rod using a pipe bender with the appropriate diameter mould but if you decided to use something harder such as hardened steel, you may need to heat the rod up first using a torch. Just make sure you clean off any oxides formed so that the shackle is shiny. The shackle needs to be bent so that it has a diameter of 48mm. After you have bent your shackle, make sure it fits in the holes. Do not force it in as the shackle could very easily get stuck in the housing if it isn’t perfect. If the diameter is too big try squashing the arc of the shackle a bit and if the diameter is too small try puling the two sides to widen the diameter. Play around with the shape until it can pass in and out of the holes easily.
To allow the shackle to rotate in the padlock, insert the shackle in with the M3 tapped hole in the smaller cavity and screw in the endstop. Push the shackle to the top so it extends as far as it can and mark on the end without the M3 tapped hole the height of the top of the padlock and cut off that end using a hacksaw. This should allow the shackle to rotate freely around the housing.
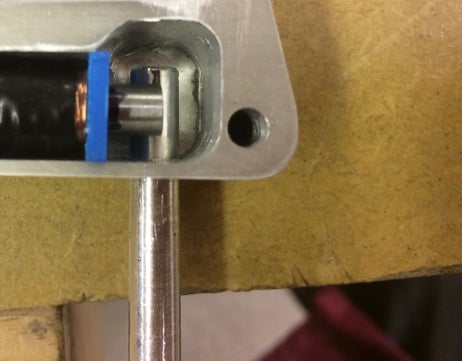
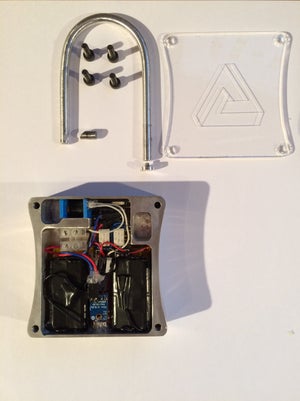
Finally insert the shackle into the housing and mark the middle of the solenoid cavity. This is where the locking pin will be and will need to line up with the shackle precisely so that it can lock the shackle securely. At the marked point on the shackle, cut a matching notch so that the locking pin profile can fit easily in. Please refer to the diagram above if you are confused.
Step 3: Faceplate
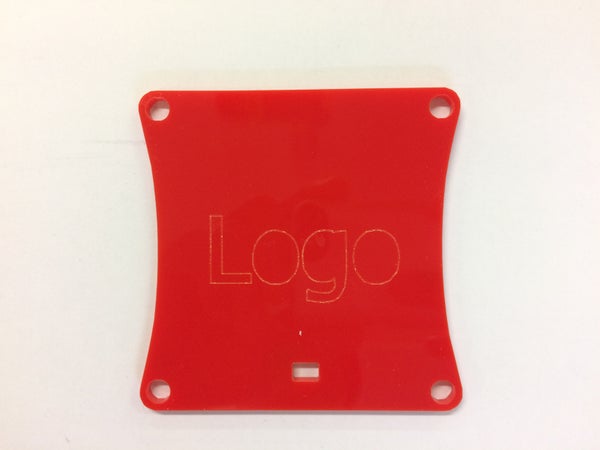
The faceplate was simply designed in a 2d cad program called 2d design and cut out of 3mm acrylic using a laser cutter. However not many people will have access to laser cutters so you can use the same template used to mill out the housing and cut around it using a jig saw or cnc mill. I would recommend using a tougher material such as Aluminium so that the padlock is more secure.
Step 4: Electronics
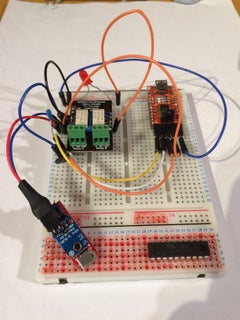

Power supply
The power supply consists to two batteries one to power the micro controller and one to operate the solenoid. To charge and regulate the power to the micro controller the lipo charger needs to be connected to the 3.3v regulator as shown above on the picture and circuit diagram and make sure the polarity is correct. Connect the lipo up and check that it charges and that the regulator is giving 3.3v out. The charger should have a red led when charging. For the solenoid I opened up an ALKALINE 9v battery which consists of 6 AAAA batteries. These were soldered in groups of 3 all in series so that the final voltage is 9v and has a capacity of around 600mah for 5.4 Wh. To solder the batteries, the contacts of each battery needs to be roughed up using a file and sand paper. This allows the solder to “stick”. When using a soldering iron with a battery, moving fast is key. Heat is the main killer of battery capacity and in some cases can be very dangerous so you should tin each battery connector before soldering the wire and even go as far as attaching a thermal sink to the battery while soldering to it such as metal pliers to conduct the heat away from the battery. Small insulated wires should be used to connect each battery up and each group of 3 batteries should be wrapped in electrical tape with just the positive and negative terminal exposed. Check the voltage with a multimeter to verify each group of 3 batteries are providing roughly 4.5v.
Solenoid
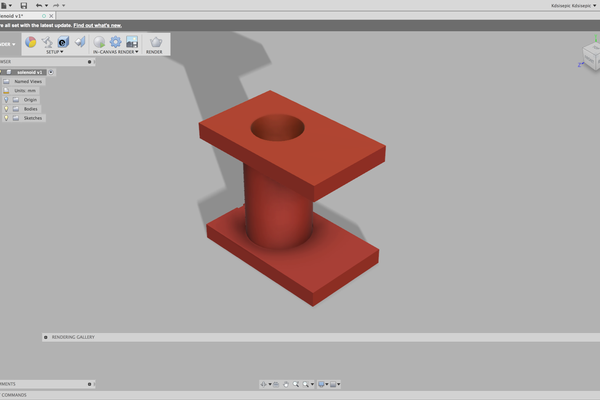
The solenoid I used was 3d printed and manually wrapped but i would recommend buying a freely available solenoid as they are wrapped more accurately giving better performance in terms of power used and magnetic field strength. To make the solenoid, the .stl needs to be 3d printed. I have one at home so I used that but if you don’t have one there are many online services such as 3D hubs which can get you part printed for a reasonable price. The stl can be found in the main project folder link at the start of the instructable. The solenoid needs to be wrapped with the 0.1mm copper enamelled wire. Start with a 5cm tail on one end and start winding from the end without the hole. Start winding the coil ensuring that each subsequent turn is snug up against the last turn and making sure each turn is as tight as possible. Continue winding until the diameter of the coil is level with the sides of the 3D printed part. Channel the wires of the solenoid out of the side without a hole and wrap the coil in kapton tape to hold the solenoid together. Finally test the solenoid by placing the locking pin with a small spring into the solenoid and powering the solenoid with a 9v battery. The pin should be pulled into the solenoid. If it doesn’t, you can loosen the spring by shortening it and stretching it.
Microcontroller
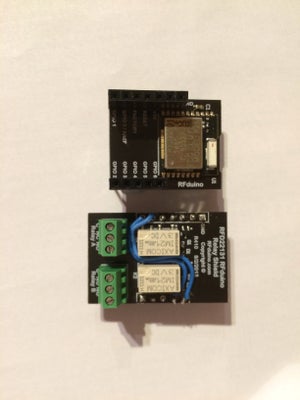
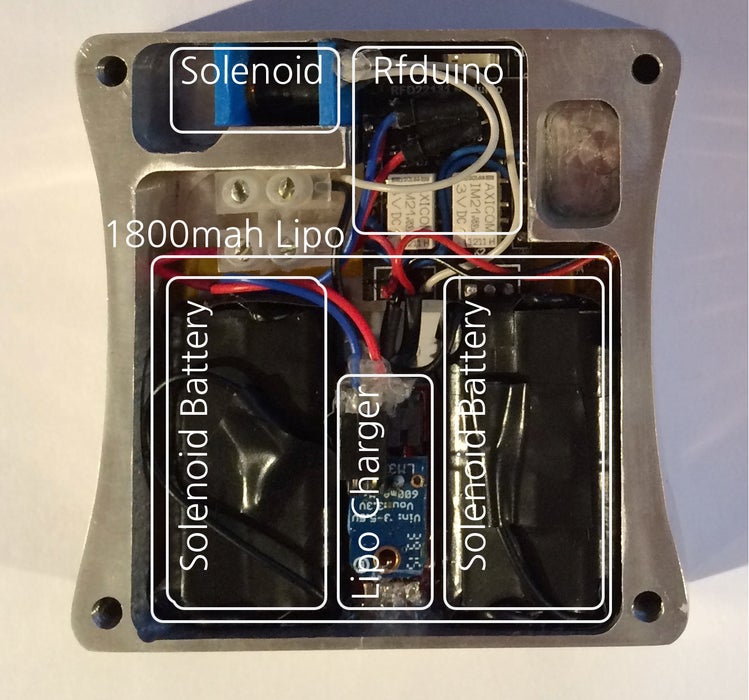
The padlock’s smart functions are based around a rfduino board which is essentially a mini arduino with a Bluetooth chip all in a tiny board with many modular shields available. The headers from the rfduino will need to be removed by desoldering them and pins 0 and 1 of the relay shield will need to be cut off and relocated to pins 5 and 6 using small wires as those are used for programming the rfduino. Then a programming header needs to be installed onto the rfduino so we can program it when assemebled. Solder a 3 pin header according to the picture shown above. On the relay shield, both screw terminals need to be removed as they are too tall and finally the two boards need to be connected to each other using the existing header pins on the relay shield. Please refer to the diagrams and pictures above. However if I were to build this again I would replace the relay shield with a simple mosfet such as the BUZ11. Finally solder on 2 wires going to 3.3v and gnd. These will later be connected to the lipo charger shield so that the Rfduino can be powered.
Step 5: Phone and SmartWatch Integration
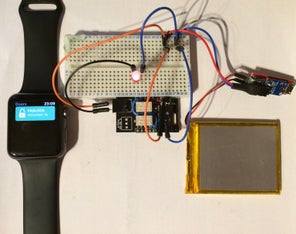
First update your arduino ide with the necessary boards using this link (http://rfduino.com/package_rfduino166_index.json ) in the additional board manger in settings. You will also want to download space lock from the app store and this app will be used to unlock your padlock. The source code for the app can be found here on github so you can modify the code and build your own version.
Open ble_lock.ino found in the project folder in arduino as there are a few variables which will need to be modified. #define LOCK_PIN 1 needs to changed to 6 for the relay shield. The output in the “new key” window in space lock also needs to be copy and pasted into the code file.
Wiring:
UART RFDUINO
gnd —- gnd
3.3v —- vcc
DTR —- reset – use a 100nF capacitor
rx —- gpio 0
tx —- gpio 1
Upload the program to the rfduino from the arduino IDE using a USB to TTL device. Select rfduino from the board menu and select the USB to TTL Device in the ports selection and press upload.
Now when the rfduino is powered on and the space lock app is opened, you should be able to see the padlock in the app. When you tap on the padlock, it should unlock. To check it works use the continuity function on a multimeter to verify that the relay switches.
To allow the padlock to work through an Apple watch simply download the app to your smart watch and you are good to go.
Step 6: Final Assembly
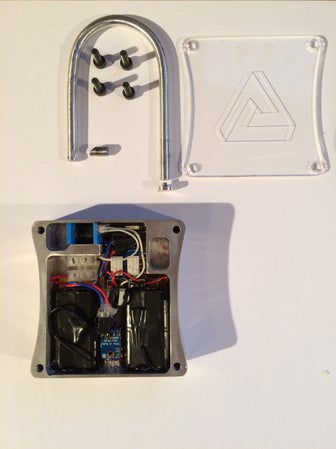
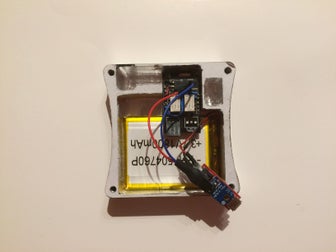
Firstly attach the shackle to the padlock by inserting the shakle into the top two holes and screw on the end stop. The 1800mah lipo needs to be stuck in first in the bottom in the main compartment of the housing. The solenoid will next need to be slotted into the top compartment of the padlock with the spring loaded pin already installed inside. Make sure the shackle and the locking pin line up properly and lock the shackle in place. Next place the Rfduino next to the solenoid and poke the micro usb plug on the lipo charger circuit through the hole at the bottom and seal in with hot glue so that the charger can’t fall out easily. Finally place the 2 pieces of the solenoid power supply either side of the micro usb charger. Please refer to the diagram above.
For wiring, the solenoid positive lead needs to be connected to the NO pin of the relay shield and the negative lead goes straight to the solenoid battery negative. The positive from the solenoid battery goes into the COM (common) pin of the relay shield. Finally plug in the lipo to the charger and the power leads from the regulator into the rfduino and the padlock should be complete.
Finally screw on the faceplate to finish the padlock. Some thread lock can be used on the screws to make it harder to come loose and either hot glue or a silicon adhesive can be used to seal off the padlock to protect it from water.
Step 7: Conclusion
You should now have a fully functioning bluetooth padlock which can be controlled from your smartphone or watch. If you have any questions or suggestions please feel free to leave comments or PM me. If you enjoyed this instructable please vote for me in the competition as I would greatly appreciate it:)

Grand Prize in the
Remote Control Contest 2017View Contest

First Prize in the
Arduino Contest 2017View Contest

Participated in the
Epilog Challenge 9View Contest

