Xbee wireless modules are possibly the coolest small wireless devices since Bluetooth. These devices are plug-and-play, communicating with each other effortlessly. If you haven’t used Xbee before, don’t worry, I’ll cover them in later tutorials. Currently, this tutorial is suitable for those who have at least some experience with Xbee. In certain projects or environments, setting the right parameters for Xbee is crucial. In this tutorial, we’ll focus on how to change the baud rate to meet the requirements of different components in your project. Additionally, we’ll explore how to change the channel to create an independent communication channel.
Step 1: Welcome to XCTU
To get started we need to download a program directly from Digi, the manufacture of Xbee modules. The program is called XCTU, and can be downloaded here.
XCTU Download Site
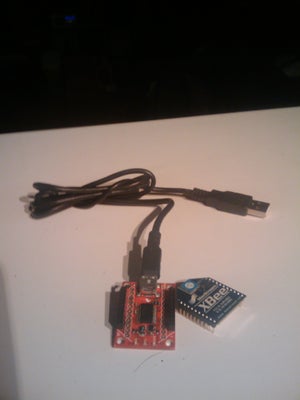
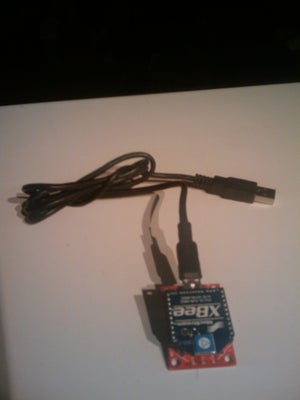
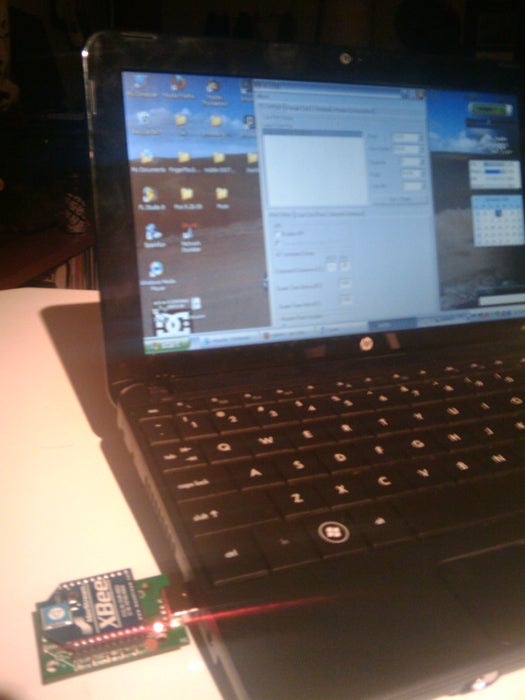
Once you have downloaded, and installed XCTU open it up, and plug in your Xbee explorer.
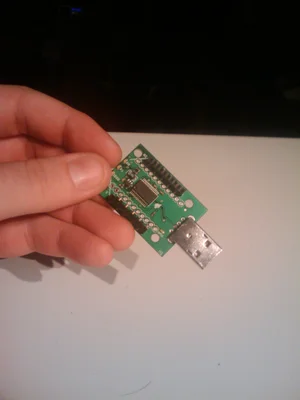
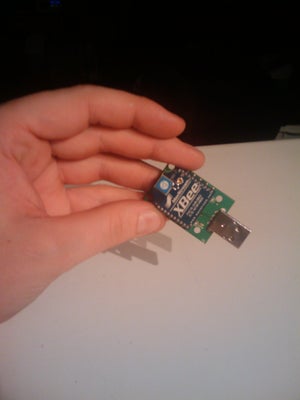
For this Instructable I will be working with the up coming Sparkfun release, the Xbee dongle.
Step 2: Working With XCTU
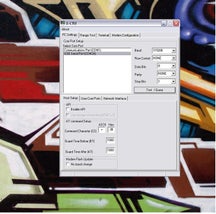
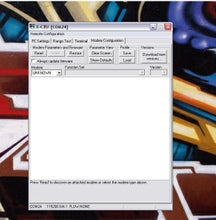
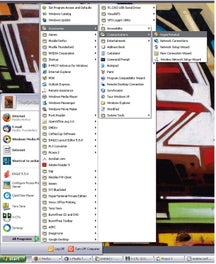
Now that we have XCTU installed, and ready to go, let’s take a moment to look around.
At the top of the main window, you’ll find a row of tabs. We’ll focus on the PC Settings and Modem Configuration tabs later, but for now, let’s take a look at the other two.
Range Test and Terminal.
The Range Test is a built-in testing tool that checks the communication range of your xbees. This is very useful for checking the range in different locations and situations. Note that the range will vary depending on the materials and obstacles in the way. For example, a 1-mile clear line-of-sight range is different from a 1-mile range with walls and buildings in between.
The Terminal tab provides an alternative serial communication method. This is a great way to inspect all serial communications.
To be honest, I never use these tabs. If I need a terminal, I prefer HyperTerminal, which is a built-in terminal on Windows XP computers, located in the Start menu/All Programs/Accessories/Communications/HyperTerminal.
Although the Range Test looks useful, I haven’t used it yet.
Step 3: PC Settings
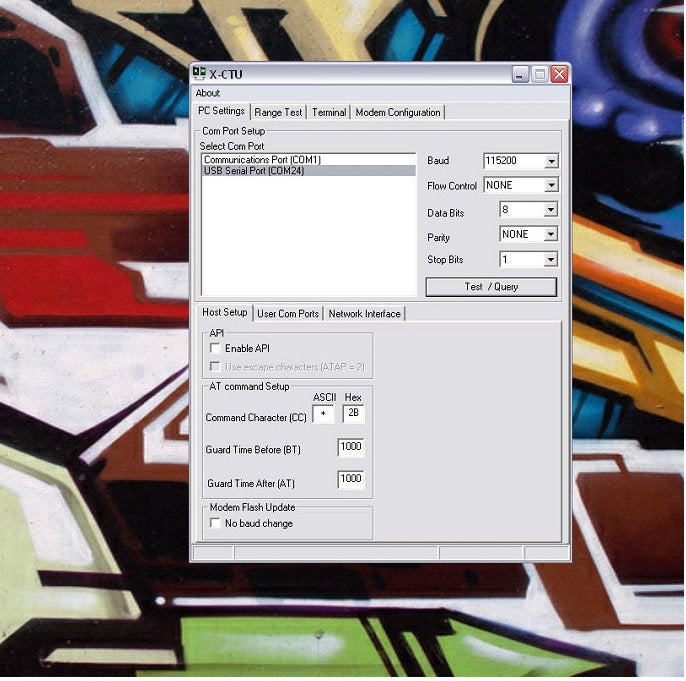
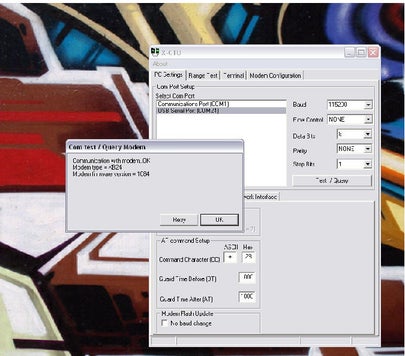
PC Settings: Your Xbee Troubleshooting and Repair Expert
If your xbee encounters problems, you may worry that it’s already burned out. However, PC Settings is your key to testing and diagnosing xbee faults. Additionally, we’ll also provide a detailed guide on how to attempt to repair a damaged xbee in the final step.
Moreover, PC Settings is an ideal place to check your baud rate settings. If you’ve changed the settings but are unsure which xbee has which setting, you can test it here.
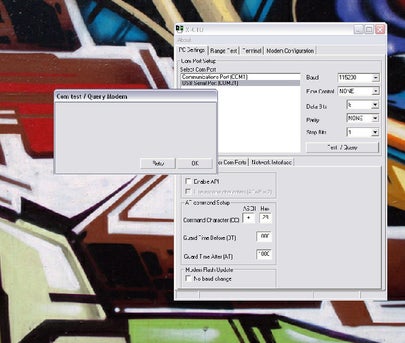
Let’s start with a brand new Xbee. If you’re reading this, your Xbee likely still has its factory settings. Therefore, you should set it to 9600 baud rate, no flow control, 8 data bits, no parity, and 1 stop bit. If you look at the right side of the XCTU window, you should see that this is your standard setting. Click the Test/Query button. If the test pops up a window with some information about your Xbee, then your settings are correct. If not, then something has gone wrong.
If you encounter errors, carefully check the old settings in PC Settings. If that doesn’t work, carefully check the new settings. You can also try to troubleshoot the xbee damage later in the instructions. If you still don’t get any results, remember what you’ve done and contact Digi technical support. They should be able to help you.
Step 4: Time for Some Modem Configuration
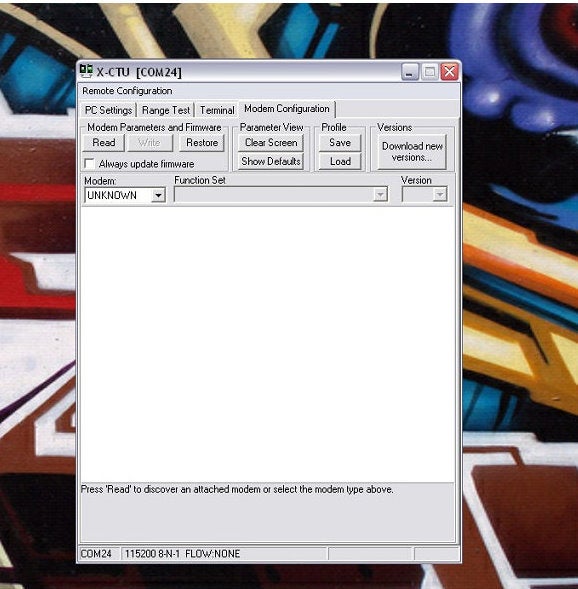
First, let’s proceed with caution to avoid any issues. Although it’s unlikely to cause problems with the Xbee, errors can still occur. If your computer fails to complete the process and encounters problems during the modem configuration update, it may completely lock up your Xbee. So be careful, close all unnecessary programs, and focus only on the current settings.
After setting up correctly, click on the modem configuration, and you’ll see several different button frames. Now, let’s focus on the modem parameters and firmware.
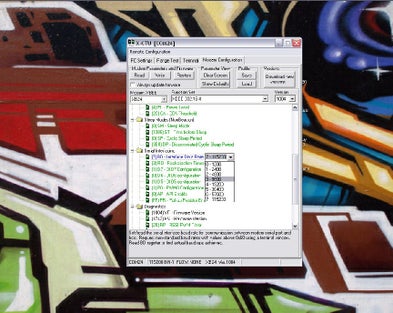
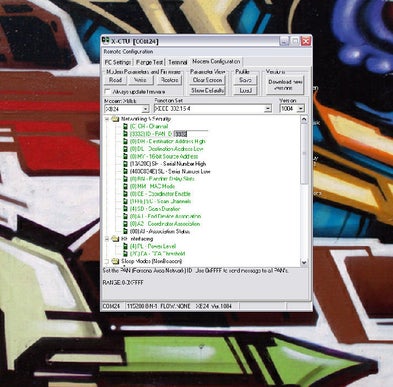
First, click “Read”, which should change the blank frame to a list of options. Then, you can decide what to change. A common adjustment is the baud rate. If you want to use Wii Motion, you need to increase the baud rate. For example, the working baud rate of Wii Mote is 19200. Therefore, we need to set the Xbee to communicate at 19200.
If you want to change the channel, why do you need to change the channel? SparkFun In Robo Workshop, we need to run six or more robots with Xbees in the same room. This is a typical example of when you should change the channel. To change the channel, look for the channel ID in the same list as the baud rate, click on it, and enter the channel you choose. Make sure all Xbees are set to the same channel.
After completing the adjustments, simply click the “Write” button next to the “Read” button. This should take a little time, but if everything goes smoothly, it should say, “Getting modem type… Confirming modem firmware not updated, setting AT parameters… Confirming writing parameters… Completed.
Step 5: Un Bricking a Frozen Xbee.

Alright, so the sort of disclaimer on this whole Instructable is that you may freeze up you Xbee during the update process when changing settings, and modifying the xbee via XCTU. Don’t worry, it is rare. But if you happen to run into this dead xbee situation here are the steps to try before ripping some hair out, and declaring your Xbee’s time of death.
These steps we contributed by Cristof. Thanks to him, we have a solid step by step run down on how to attempt a fix.
1. Take the module out of the interface board.
2. Connect the interface board to the computer.
3. Open X-CTU make sure Baud Rate is set to 9600
4. Go to "Modem Configuration"
5. Put a check in the "Always update firmware" box
6. Select proper modem from drop down menu,
7. Select proper function set and firmware version
from drop down menus.
8. Click on the "Write" button. After a few seconds of
trying to read the modem, you will get an Info box
that says Action Needed. At this point, CAREFULLY
insert the module into the interface board.
9. You may get the info box again a short while after,
just use the reset button on the interface board.
Update: Well after letting this instructable soak for a while, some comments brought a missing piece to my attention. If you are working with an Xbee Explorer board that does not have a reset button, you can not complete the process. That won’t do, so we have come up with a simple fix for you. Take a wire to jump a connection between RST, and GND. When it comes to the point that you need to reset (Hint this will work any time you need to reset.) just jump the two pins together, and you have reset the device! Good Luck friends.
Update 8/23 Thanks to reader kolment2003 a great recommendation to use a bread board, to switch for the Reset to Ground. This will allow a solid connection, and a reliable reset when you need it. Thanks kolment2003

