I was tired of carrying USB drives and Bluetooth/WiFi adapters in Altoids cans, so I decided to design a more creative and practical portable package. As I brainstormed, new ideas kept emerging. Finally, I successfully designed a very cool carrying device. It even comes with a standalone pager alarm that can perfectly complement my phone.
Step 1: Open Up the Cases and Check the Fit.
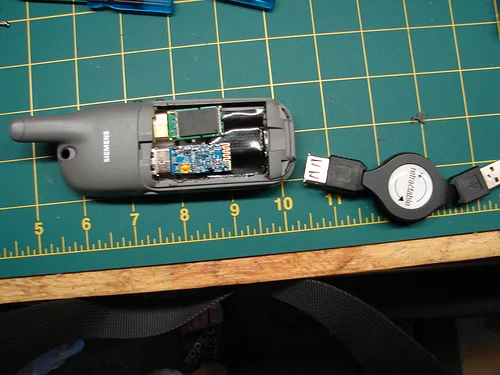
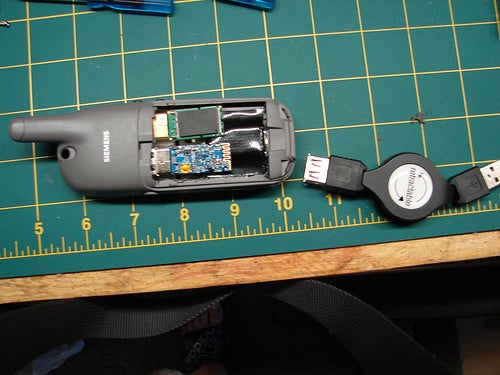
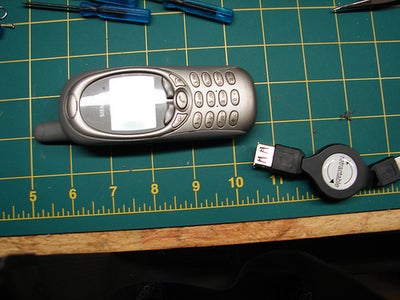
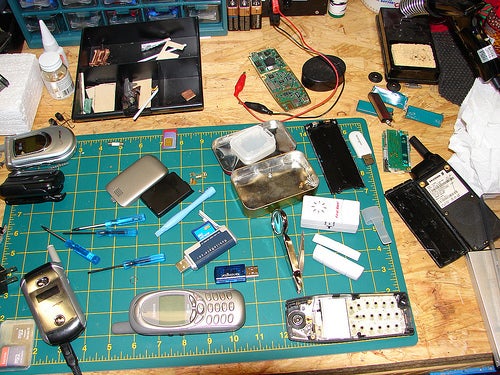
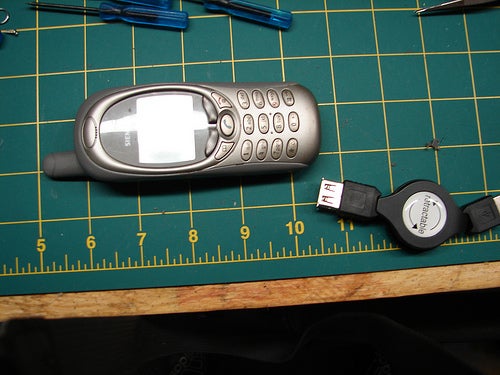
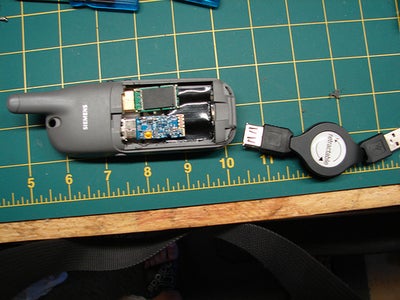
I used a special plastic spudger tool to open up all the casings, which I got for free from an HP PDA replacement screen (it broke again a year later:(…). You can see the tool in the picture, it’s the small blue stick next to the screwdriver. Be careful when doing this, as you don’t want to damage any of the pins that hold the casing together. Note that taking apart electronic devices can be risky, so if you’re a beginner, make sure you’re not taking apart anything that you’re worried about breaking.
From the picture, you can see that I’ve laid out all the parts and decided how to handle the components I need to use. I suggest you do the same and see what new ideas you can come up with. I started this project just to find a more interesting way to carry my USB toys… my Altoids tin is nice, but I wanted something different. So, I plan to simply remove the battery and turn the empty space into a storage box.
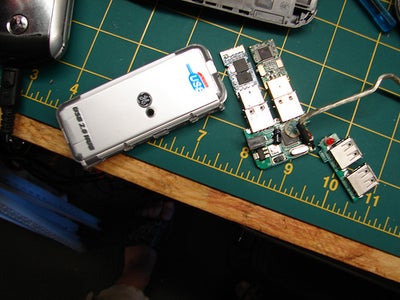
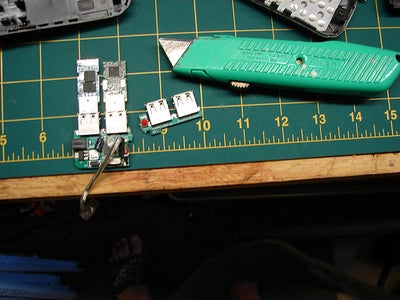
I decided not to solder my USB device to extend the connector. Then, I remembered the 4-port USB hub, which can be purchased for under $10 at Target and other stores.
Step 2: Building the Phone

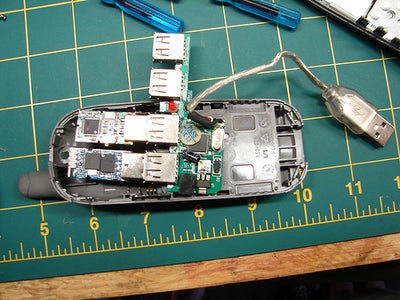
After disassembling the casing, I assembled the components to check if they fit together properly. I had multiple phones to choose from, so I selected the most suitable one. However, it couldn’t work with all 4 USB ports on the hub. So, before breaking the circuit board, carefully cut a few lines on the board with a sharp knife and observe. You only need to remove the red LED and 2 extra hub circuits, without cutting any other parts.
I used a Dremel with a small grinding machine to remove some internal components of the phone. Be careful and remember to remove the screen and buttons first. You only need to remove the parts that are absolutely necessary for the USB hub installation. Removing too much will weaken the phone’s casing structure. Also, be careful not to remove important components (such as the battery cover lock).
I also had to cut away about half of the plastic backing in the battery compartment to allow my USB device to slide in and out easily and leave a recess for the plug.
Once everything is ready, replace the keyboard and screen. Use a small amount of hot glue to fix them in place. Emphasize again, only use the amount needed. If you use too much glue, you may end up having to remove some of it to fit the remaining components.
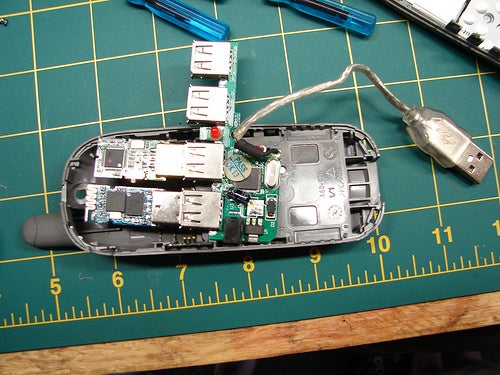
I used a small amount of Gorilla glue to fix the USB plug to the bottom of the phone, and then carefully added hot glue. Make sure the glue doesn’t interfere with the power cord insertion.
On the top-right corner of the phone, you can see a small magnet. I glued it to the outer wall, away from the circuit. It will be used for the alarm later. Let the glue dry for a few minutes, then check to make sure your components are securely fixed. Then, put the phone’s back cover on.
Once they are assembled, you can insert your devices. My top device is a 2GB drive, and the bottom device is a Bluetooth adapter. You can replace these devices with any combination you need, or upgrade to more memory (this is why I really like this version). The battery cover should be easy to put back in place.
Step 3: Building the Alarm

2 More Images
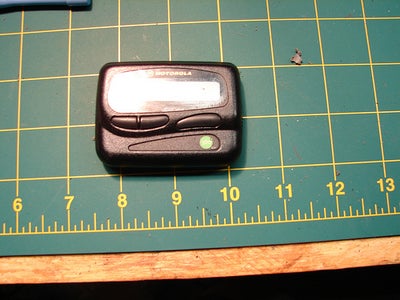
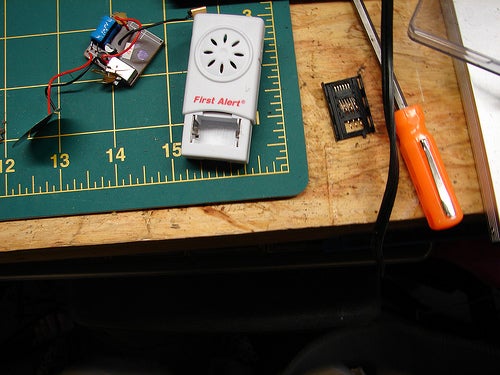
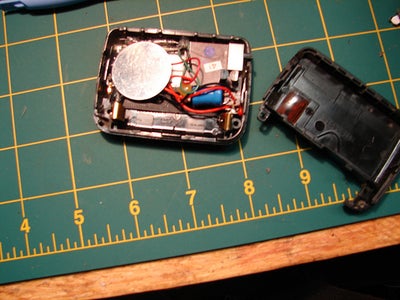
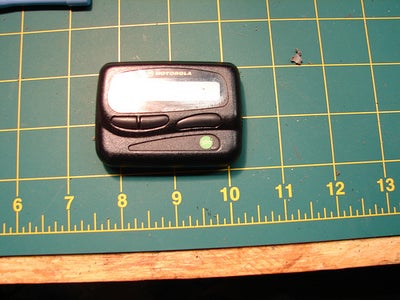
I converted the alarm into a door alarm using a pager battery. First, I removed the screw and carefully pried open the pager’s casing. Then, I cut off the battery terminal and soldered the wires to the pager’s terminal to use a 1x aaa battery. Next, I drilled a small hole to install the on/off switch.
I also reinstalled the reed switch on the pager’s outer wall, which is a simple switch triggered by a magnet. So, when an intruder opens the door, the magnet will pull the reed switch, triggering the alarm circuit.
Finally, I replaced the LCD screen and pager buttons, and glued them in place, then glued the alarm components in place. Note that when using glue, be careful, especially at the edges, to avoid difficulty in reassembling the casing.
Step 4: Now Have Fun!!
If everything goes smoothly, I now have a versatile alarm system consisting of a ordinary phone, a 2-port USB hub, and a modified pager alarm.
When I place these two devices closely together, the magnet will stop the alarm. If someone tries to remove one of them, the alarm will go off.
I love the portability and multi-functionality of this construction. The phone can easily be swapped with many different types of USB devices, and the pager alarm can be carried around to protect hotel room doors and other situations. With just a little bit of glue and a magnet, the pager alarm can be used for many different things. It indeed has the same functionality. I just like the cool look of the black pager better than the ordinary alarm. It looks more complex than it actually is as an alarm, so I hope it will be a better deterrent.

