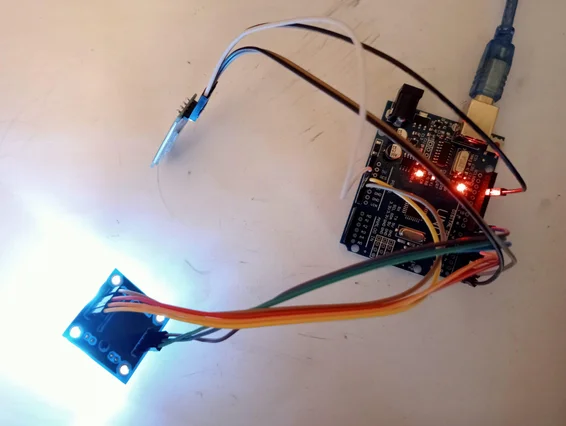
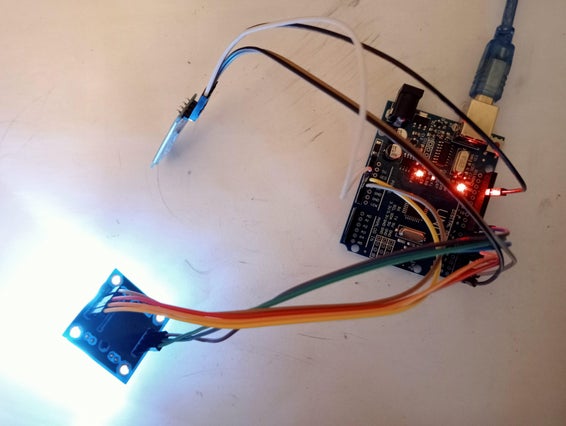
This circuit aims to use a TCS3200 color sensor to read colors and prints the continuous result on the serial of the board. This information can be accessed by Bluetooth using your Android OS phone (using 2 methods to see it).
Supplies
Components:
- Arduino Uno Board
- TCS230 RGB Colour Sensor
- HC-05 Bluetooth Module
- Jumper Wires
- Optional supply source (like battery cases)
Step 1: Build the Circuit
Follow the circuit diagram to connect all parts. The bluetooth module doesn’t need to be connected right now, but we will get to that on the next step. Except the power related pins, all the others are referenced on the code.
For powering the board you have different methods, shown in the following link:
The USB type B is the easiest way to power and when is connected to a PC port, is how we upload the code to the board. If you decide to use a battery case, you’ll need to insert the positive cable in the VIN pin and the negative one in a GND pin.
Step 2: Upload the Source Code
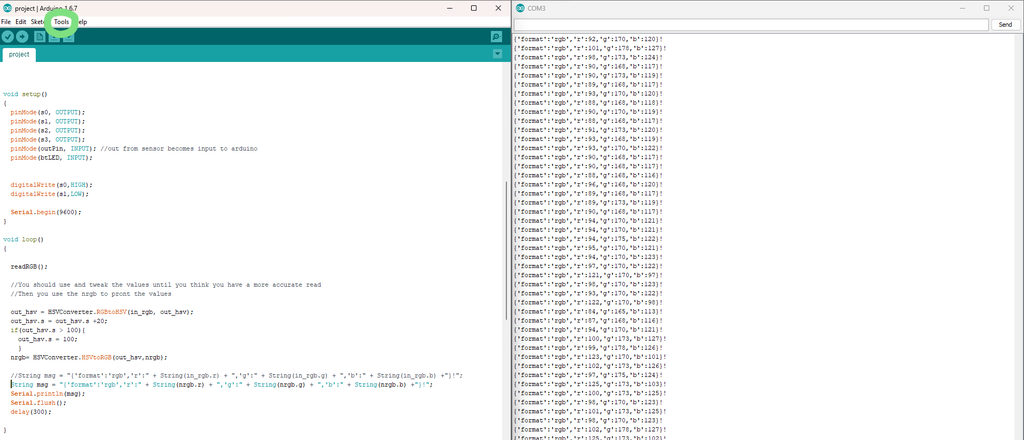
To use and upload this file you are required to install Arduino IDE program. The code has some comments explaining the general function and to upload your code, you need to plug in the USB B cord from your pc to the Arduino Board by selecting the correct board and port under the Tools taskbar.
The starts on the setup() function, in here we are just defining the pins and opening the serial monitor. The loop() function, as the name implies, it loops over and keeps repeating what’s inside. In there we call the readRGB() and print the results from it. Inside that function it changes the values from the sensor LEDs to read colors, check the links bellow for more information.
Since the variables were made for my own experience with the sensor, you are required to view the code to change what is needed. For each RGB color there are max and minimum values for the spectrum and slight color tweak with the HSV convertion. You need to first experiment the sensor without the map() functions and the HSV part. And for the convertion you need to install the library associated to those functions, which also appears commented in the code.
After checking the received values, you should modify the variables to best fit your accuracy requirement.
To upload the file you’ll need to first disconnect the Bluetooth module (you can just unplug the RXD and TXD wires) and when is finished uploading, then you can plug the rest of the wires and should start working properly.
With uploaded code, you should open Arduino IDE’s serial monitor and check the logs. For this example, the information is printed with a Json format (for the optional Android application) and is this information that your phone receives when it connects to the Bluetooth Module.
Attachments
Step 3: Access the Information Through Android
The simplest way to view the serial monitor from your phone is using an application from the Play Store. If you are using an Iphone you have to search an equivelant by yourself.
To pair and connect the HC-05 you’ll need to insert a password to use it. By default is either “0000” or “1234”.
To view the logs I personally used this app:
By following the picture, you click the menu bars and then you select Devices. Here, with a proper connection, you should see your HC-05 and select it as Terminal to view the logs.
Step 4: (Optional) Access the Information by Using Android Studio
If you got here, that means you’ve acomplished the main objective of the project, though there is an extra optional step.
First you need to download the .zip from the link bellow:
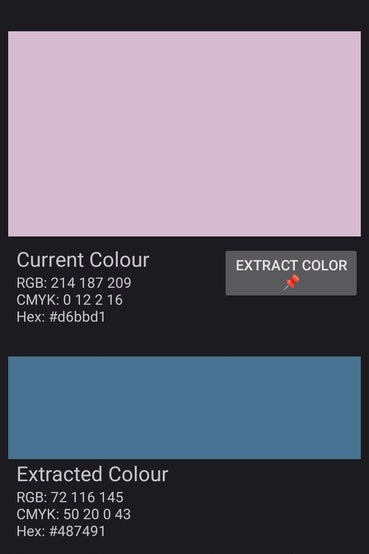
The provided code is an app that checks your Bluetooth connection and then creates a direct connection to the paired device. It uses an Async class for the connection and another one to loop the received information. It checks the format (being in Json) and then displays on the screen the current color and gives you the options to lock a color and copy the respective color codes.
To create your own android application and install on your phone, you’ll need to install the Android Studio application on your PC and access the developer mode on your phone. Each android version and phone brand have their own ways to activate the developer mode, so you’ll need to search the appropriate information for your own model.
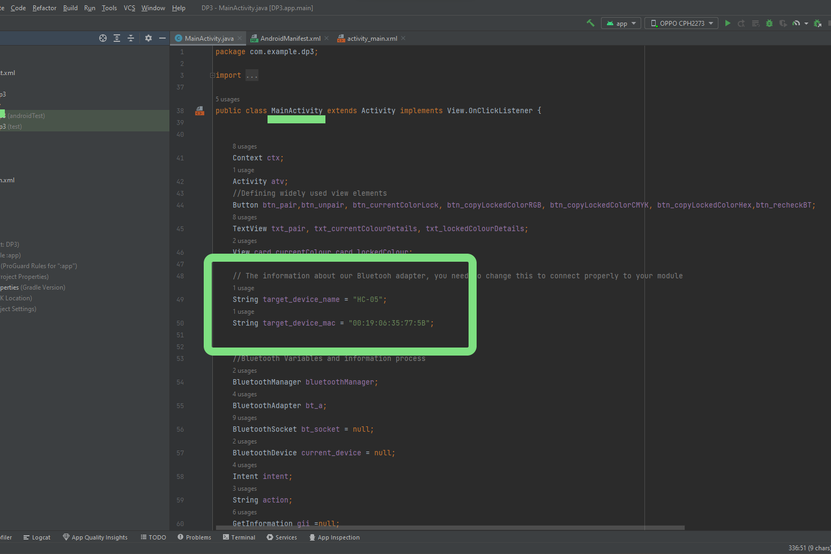
The android application is very basic and is mostly meant as an experiment, so it has a couple of bugs. Just like the arduino code, it has several comments explaining the general process and you also need to change some values. In this case you need to change the device’ name and MAC address. The previous mentioned Play store’ application shows both of those informations or you can change the Android Studio code to first check the information of the paired devices.
This serves as a pratical example of the sensor’s usage, though a lot needs to be rewritten to function as proper app.
You can check the embed videos to see the cirscuit in action while the app is being used.
Step 5: Special Thanks
https://youtube.com/watch?v=wGw_0eUB4uk%3Ffeature%3Doembed%26enablejsapi%3D1%26origin%3Dhttps%3A
The provided code is an app that checks your Bluetooth connection and then creates a direct connection to the paired device. It uses an Async class for the connection and another one to loop the received information. It checks the format (being in Json) and then displays on the screen the current color and gives you the options to lock a color and copy the respective color codes.
To create your own android application and install on your phone, you’ll need to install the Android Studio application on your PC and access the developer mode on your phone. Each android version and phone brand have their own ways to activate the developer mode, so you’ll need to search the appropriate information for your own model.
The android application is very basic and is mostly meant as an experiment, so it has a couple of bugs. Just like the arduino code, it has several comments explaining the general process and you also need to change some values. In this case you need to change the device’ name and MAC address. The previous mentioned Play store’ application shows both of those informations or you can change the Android Studio code to first check the information of the paired devices.
This serves as a pratical example of the sensor’s usage, though a lot needs to be rewritten to function as proper app.
You can check the embed videos to see the cirscuit in action while the app is being used.
Step 5: Special Thanks
I used several links to help me develop this project and if you want to learn in more detail these features you should check the links bellow. I also appreciate you reading this tutorial and taking your time. Farewell.

